As skydivers, we’ve probably been asked at some point: “How many times should you check your gear before a jump?” To which we’ve likely responded: “A lot! The more, the better.” Or even something more specific, like: “At least ten times.” This answer reflects how valuable redundancy is in our sport.
However, the United States Parachute Association (USPA) sets a minimum standard regarding the number of times a skydiver should check their gear before a jump in section 5.4 of its Skydiver’s Information Manual (Pre-Jump Safety Checks & Briefings). According to the USPA, these checks should be performed at three key moments:
1. Before gearing up.
2. Before boarding the aircraft.
3. Before jumping.
While the USPA suggests that three checks are sufficient, we believe that at least four are necessary:
1. Before gearing up: Complete gear check.
2. Immediately after gearing up: 3×3 check.
3. Before boarding the aircraft: 3×3 check.
4. Before jumping: 3×3 check.
Complete gear check and 3×3 check? What’s the difference?
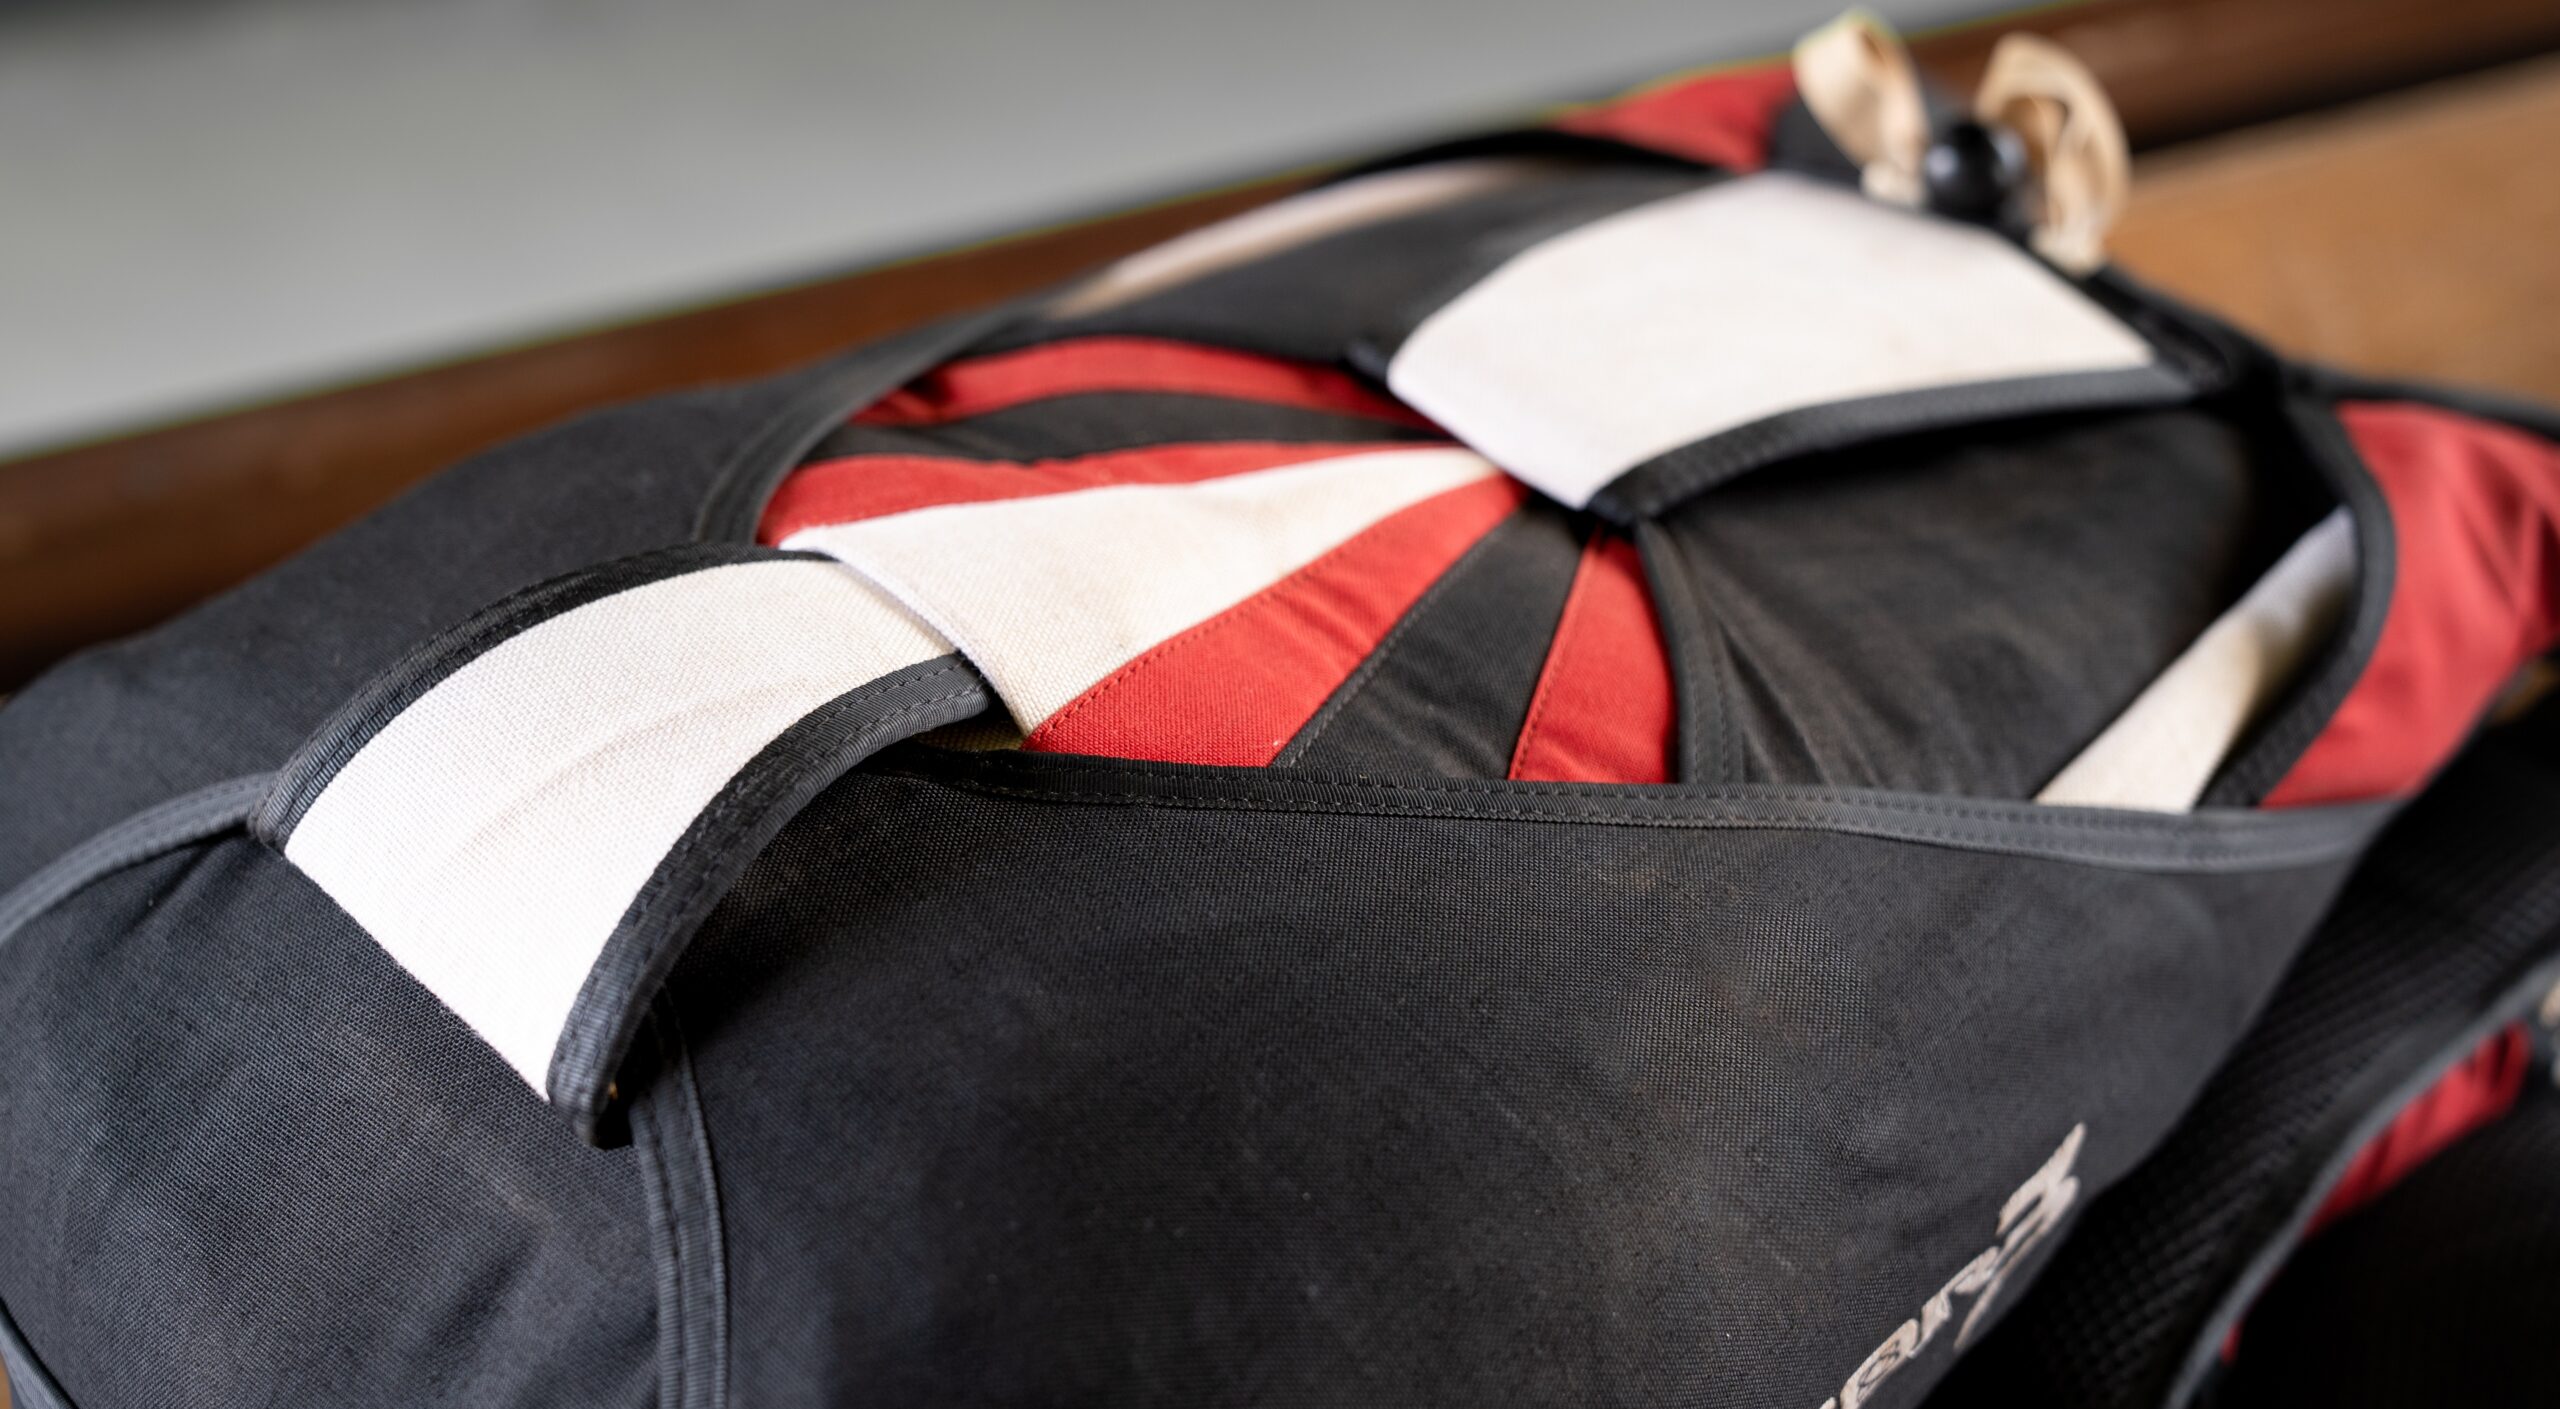
The complete gear check is performed before gearing up to conduct an exhaustive review that identifies possible assembly or functional errors in each part of the gear. This check is crucial to ensure that all components are in good condition, especially those we won’t be able to see or reach once we’re geared up.
On the other hand, the 3×3 check is a quick review performed immediately after gearing up, before boarding the aircraft, and before jumping. It’s designed to ensure that the most important parts of the parachute, which we can still visually and physically access, are well-configured and in place.
Next, we explain both checks in detail:
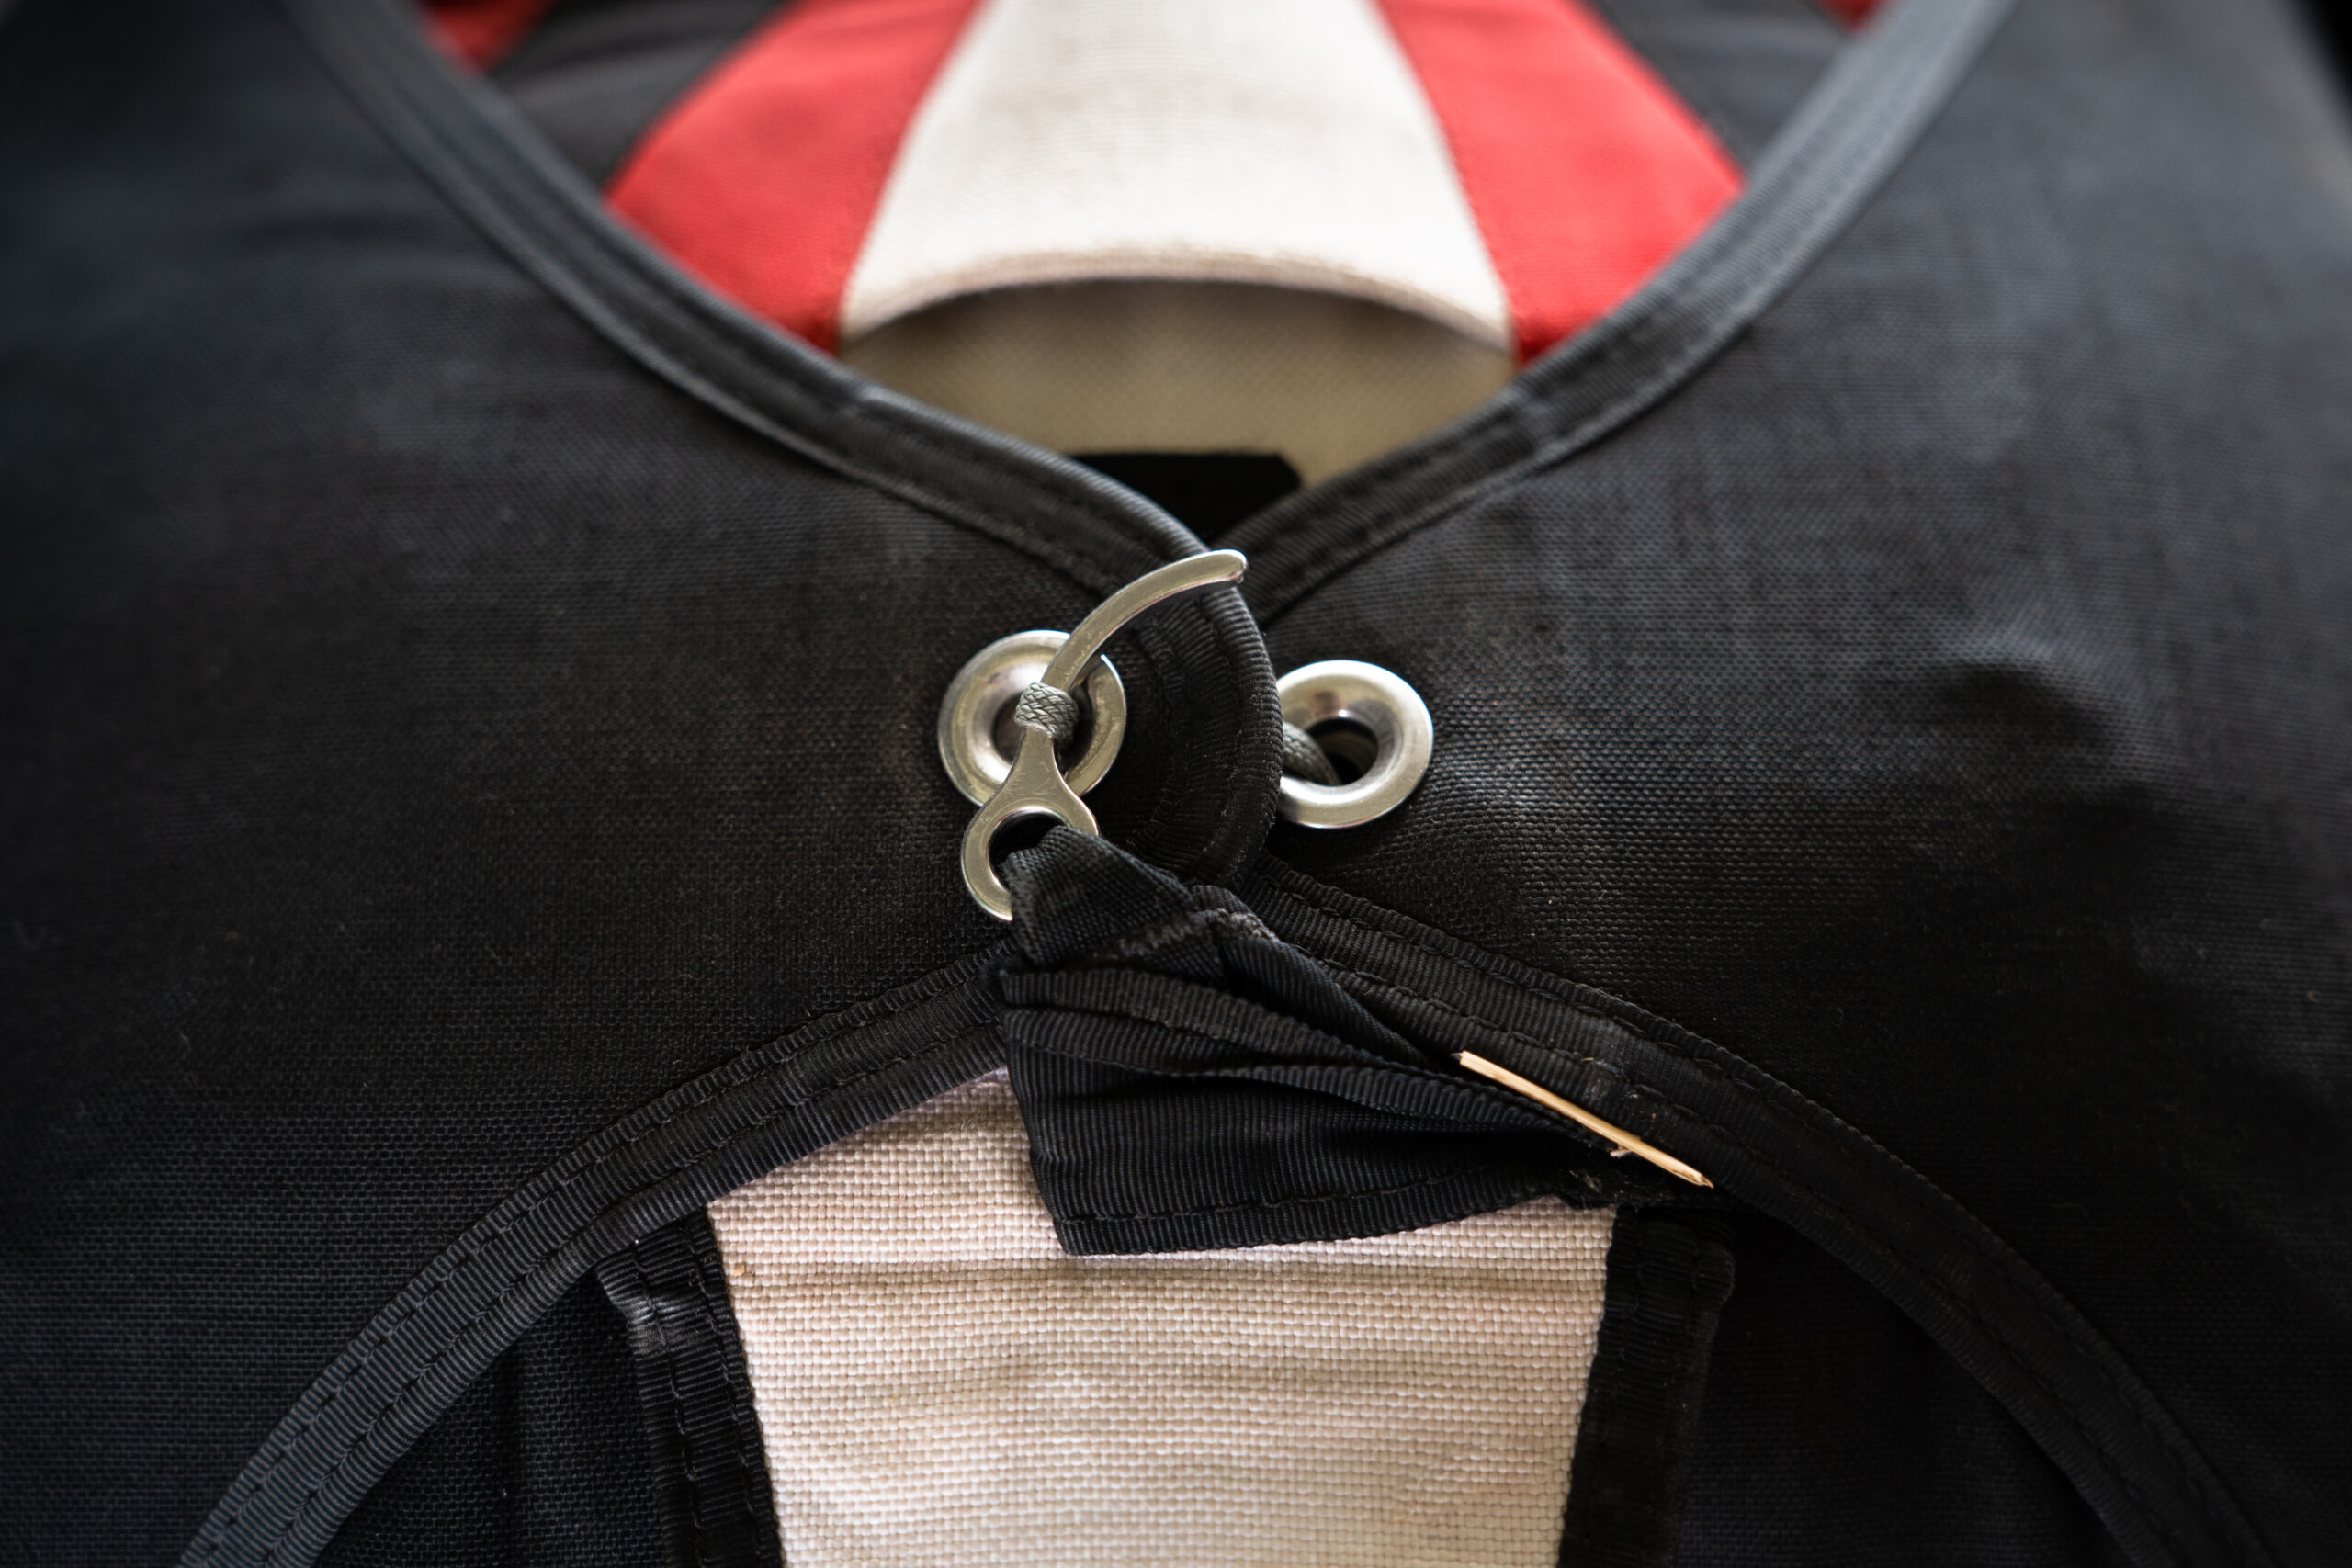
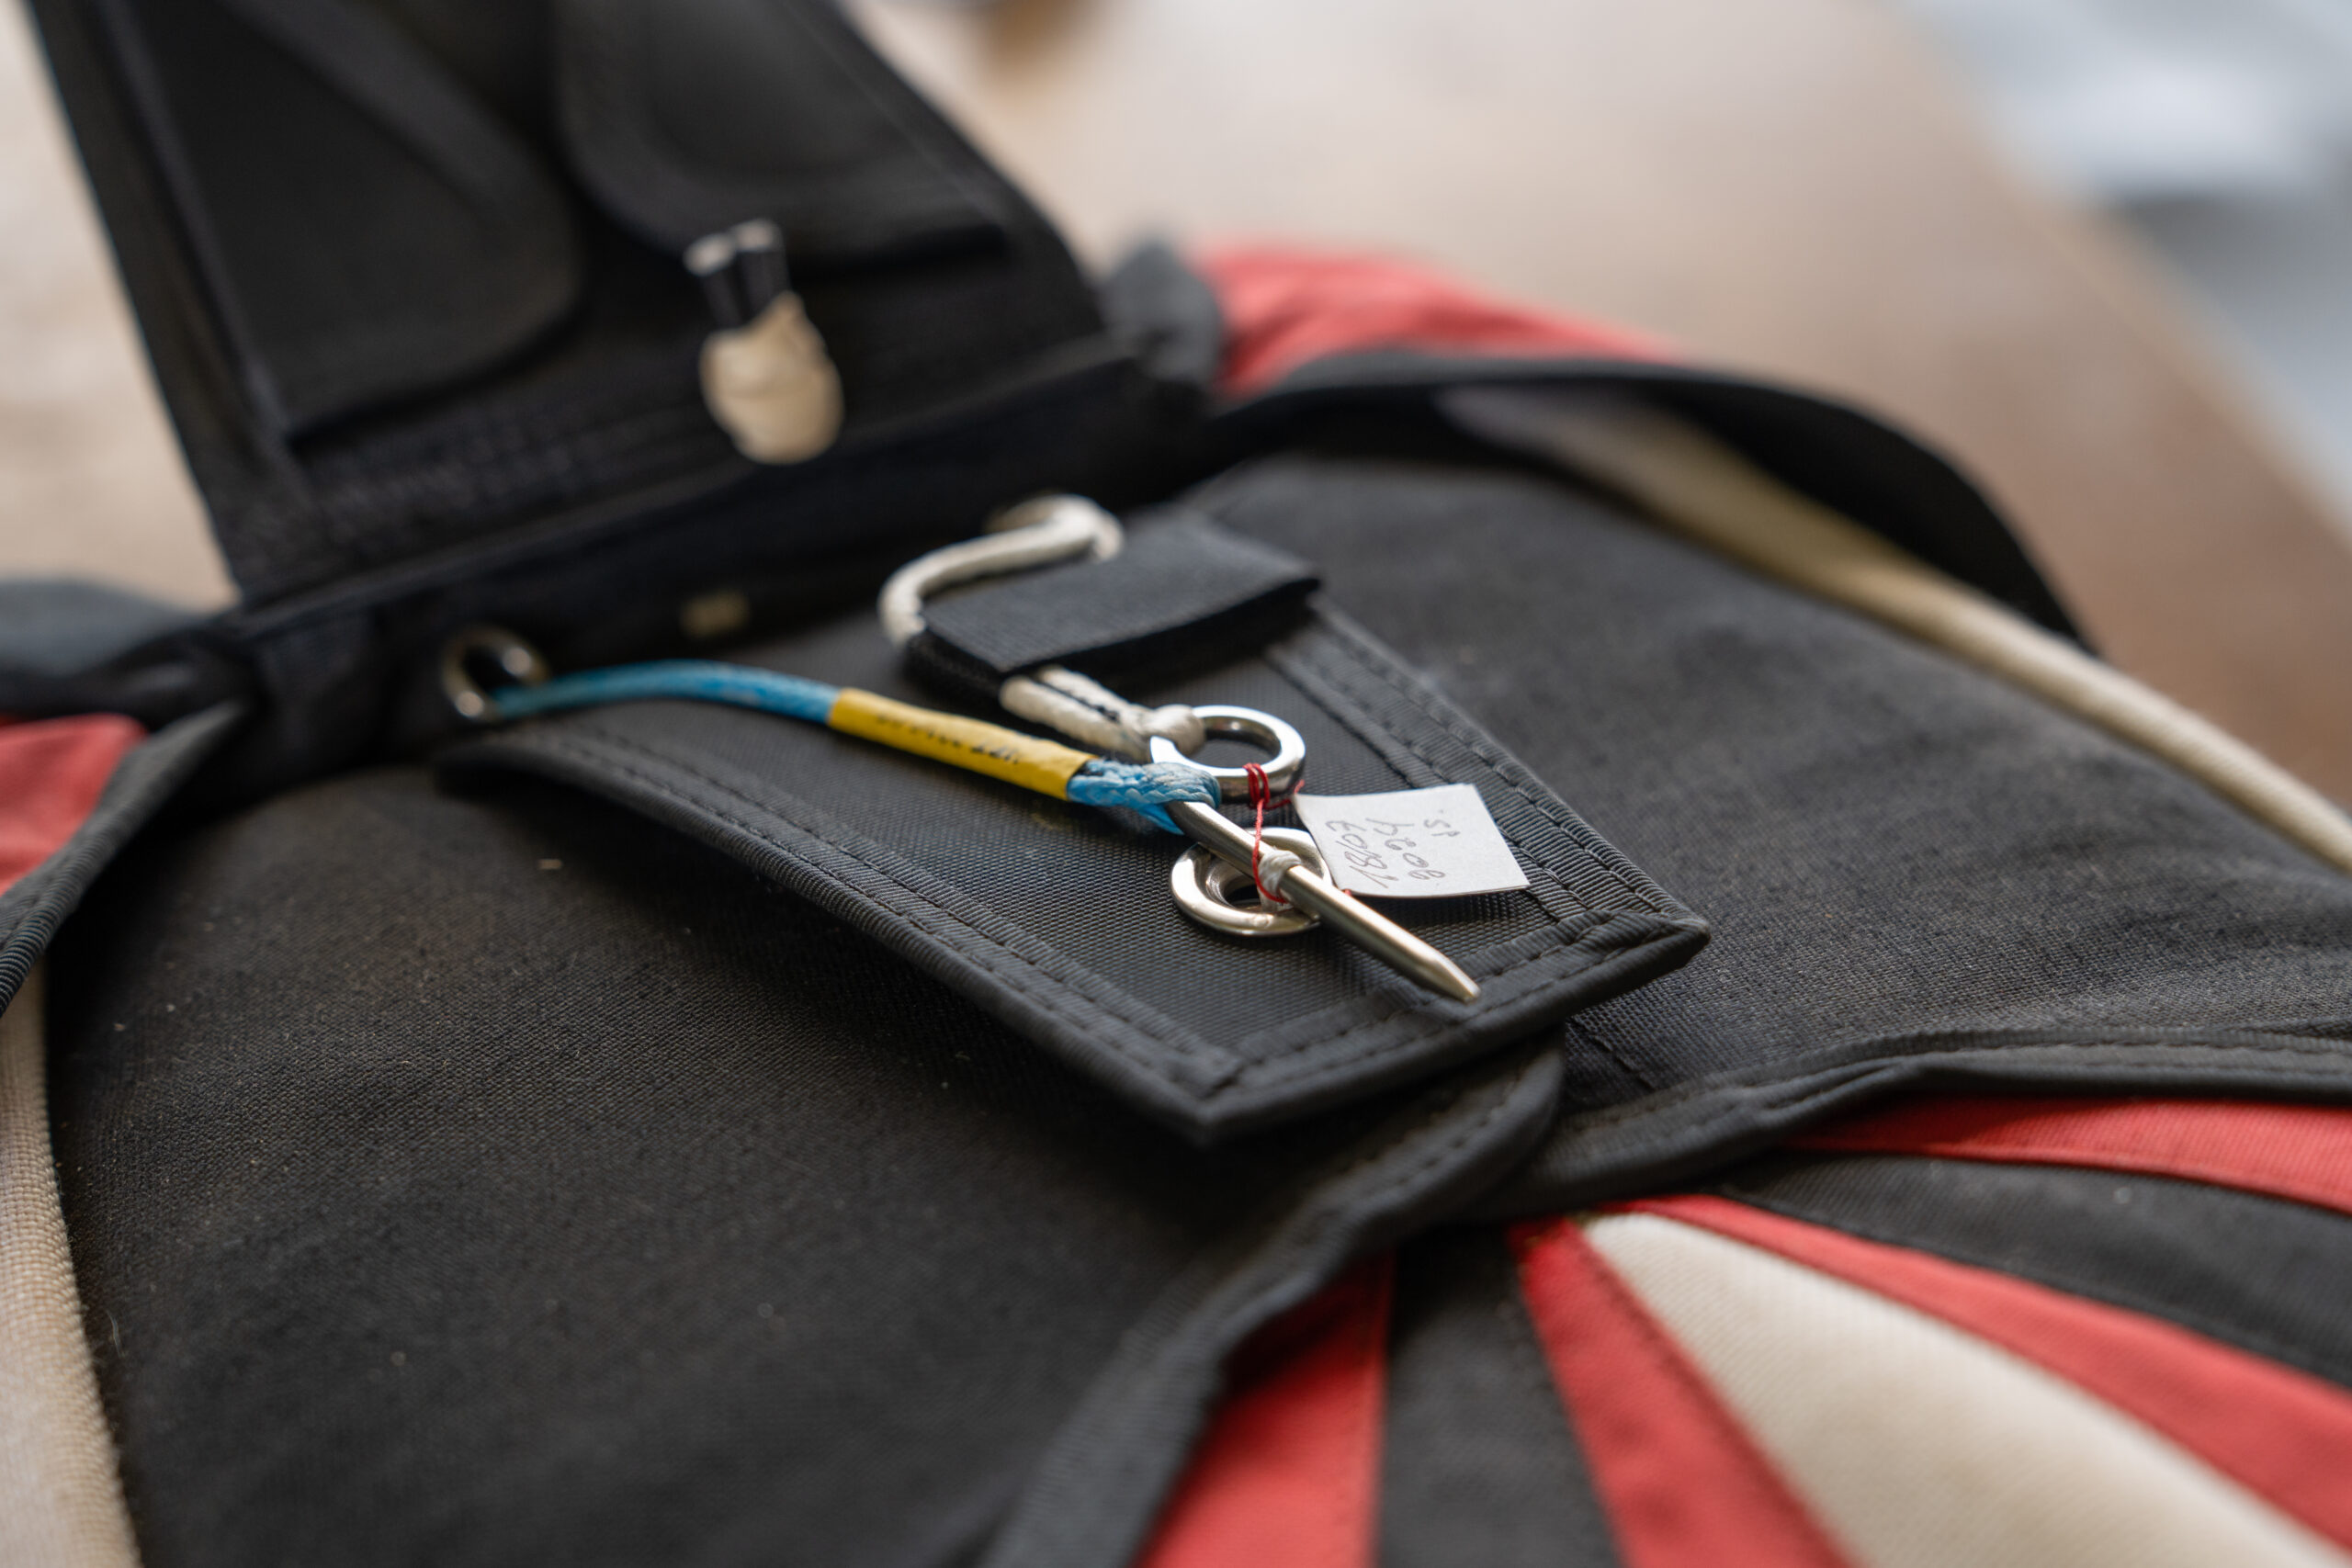
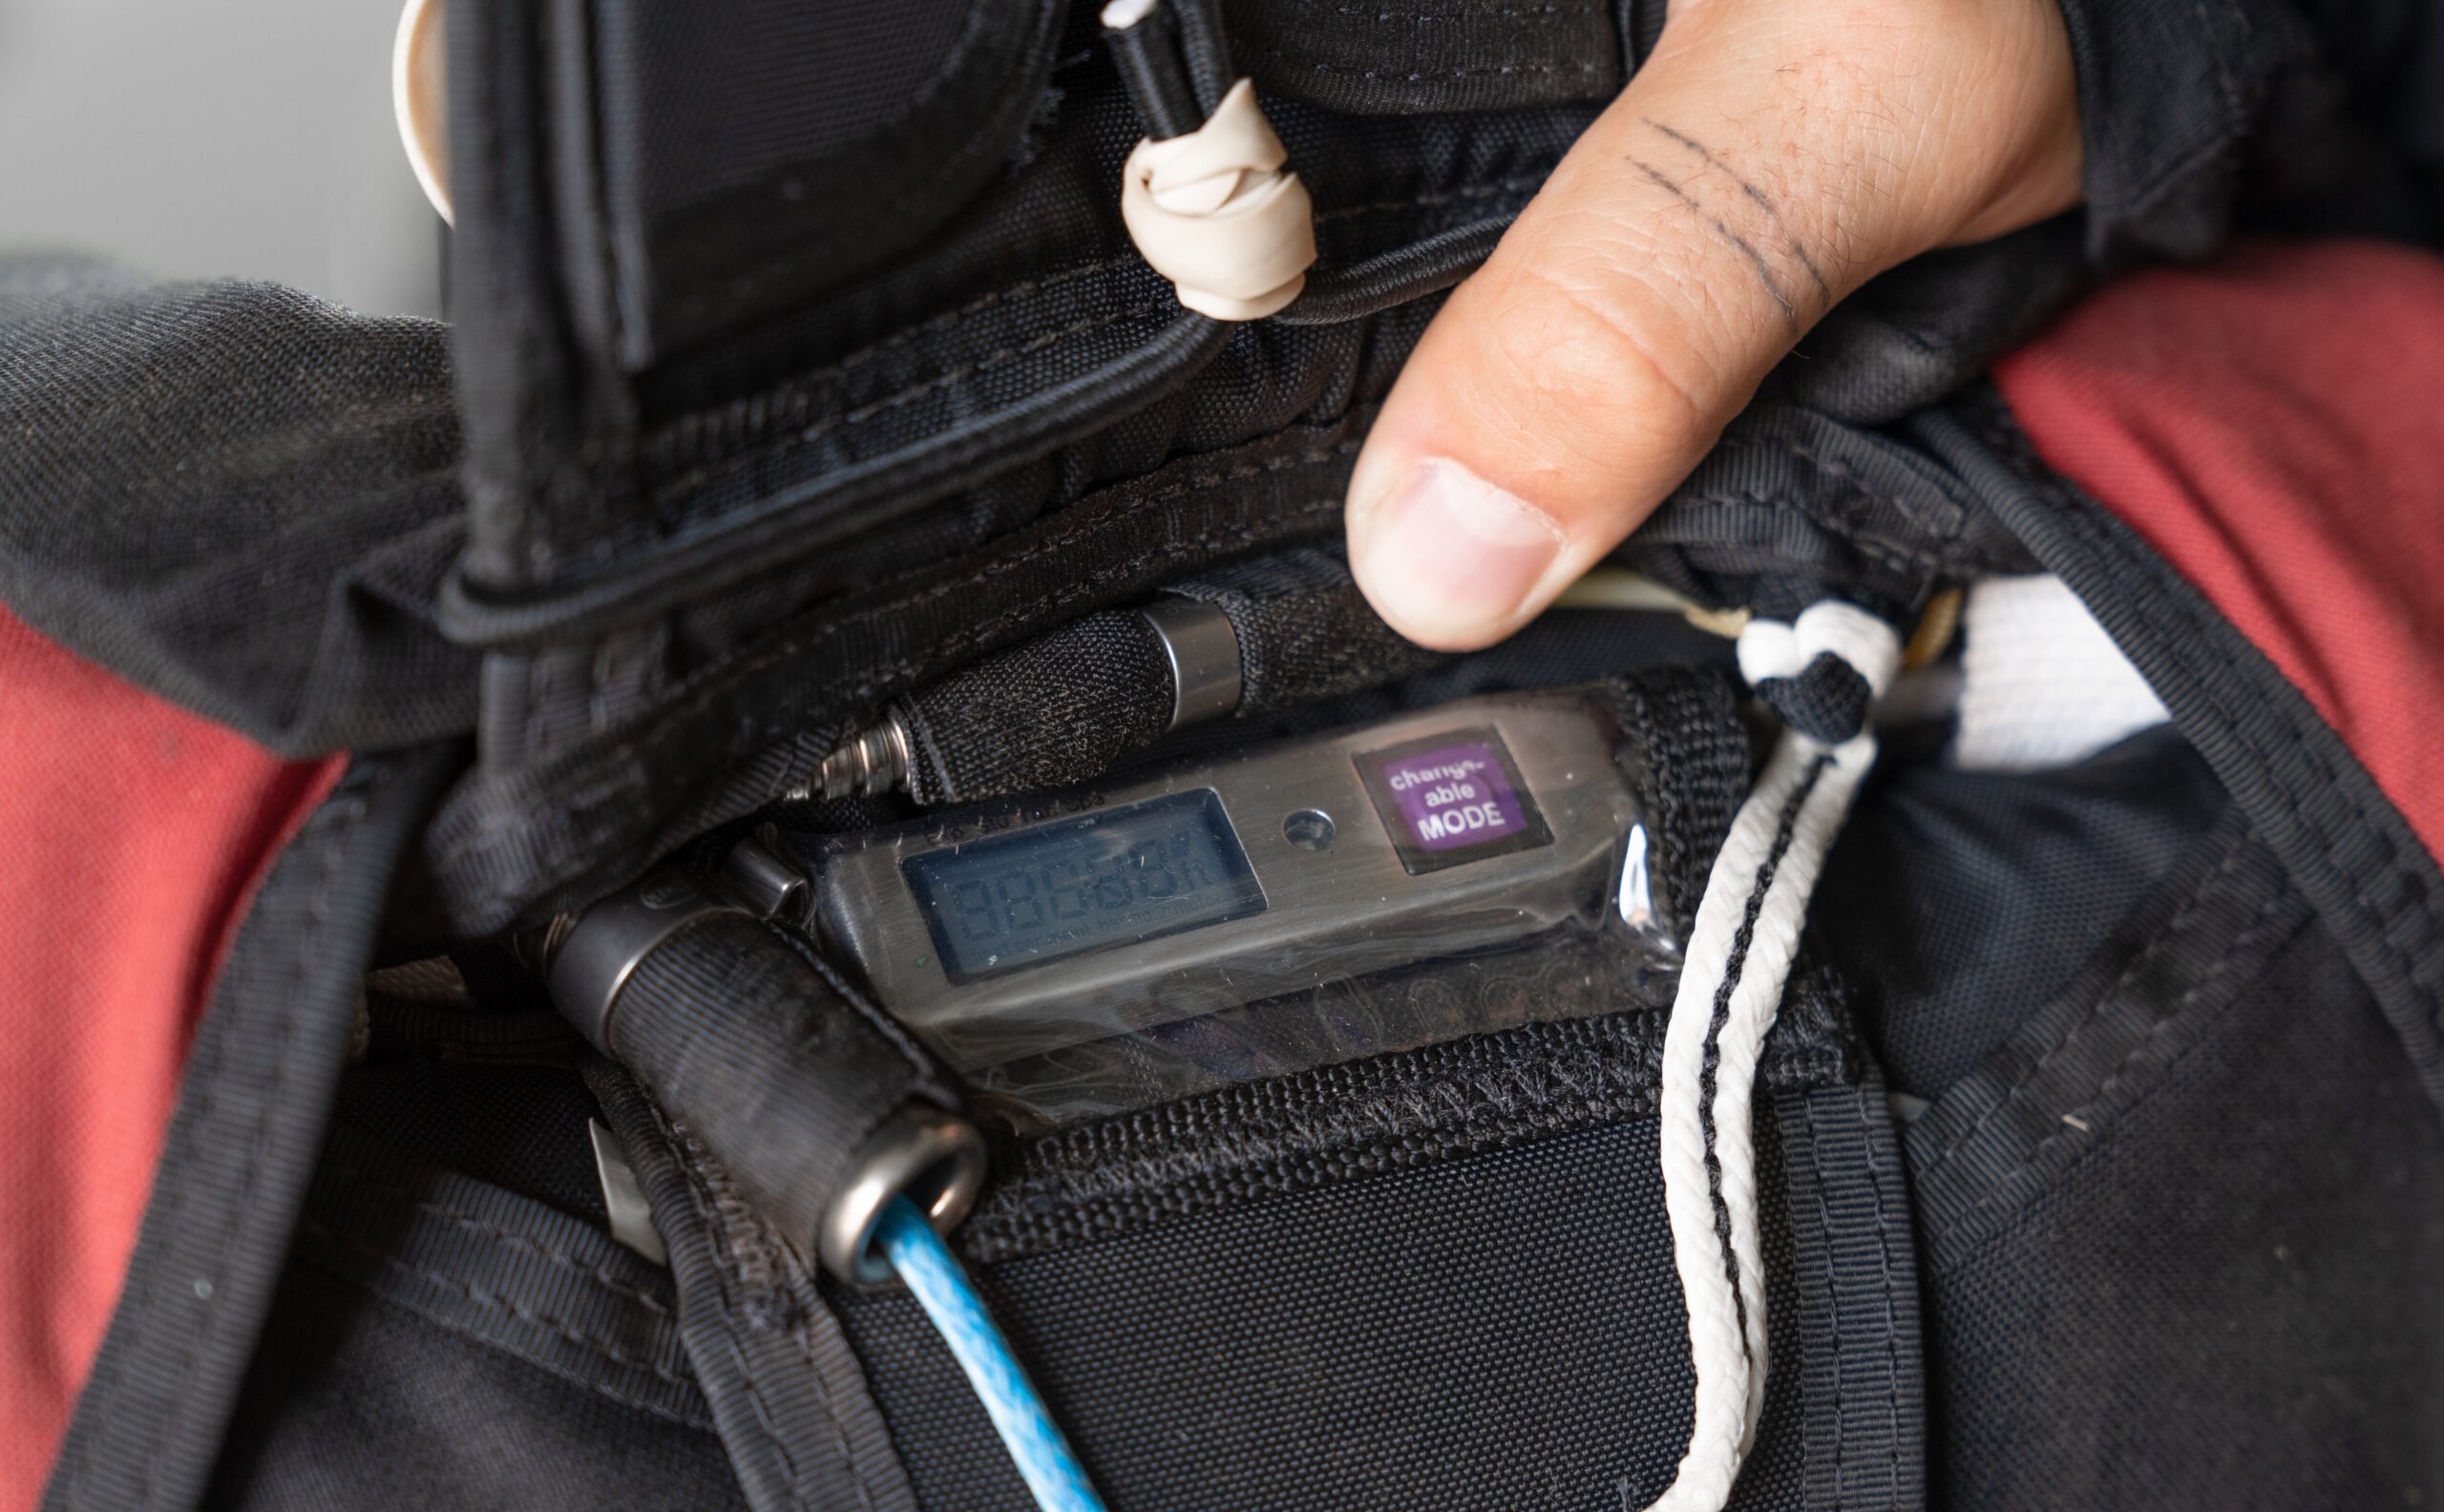
Complete Gear Check This check should be performed before each jump to verify that all parts of our gear are in optimal condition. We suggest always following a systematic order to avoid missing any piece. Here’s a checklist from top to bottom, starting with the exposed part (where the reserve and main flaps are) and then moving towards the part that goes against our back:
1. Automatic activation device (AAD): Check that it’s on and activated on the same day and place of the jump since its activation period is 14 hours. Be sure it is working on the proper mode.
2. Reserve ripcord: Properly routed and in perfect condition.
3. RSL or Skyhook: Correctly routed and attached to the reserve ripcord.
4. Reserve pin: Straight, in the correct position, and in perfect condition.
5. Reserve closing loop: In good condition, with a maximum allowable wear of 10%.
6. Main parachute pin: Correctly positioned and in perfect condition.
7. Closing loop: In good condition and with adequate tension.
8. Bridle: In perfect condition and properly routed.
9. Pilot chute: Ensure it’s not collapsed (check the bridle window or ensure it inflates completely when catching air).
10. Pilot chute storage (BOC): Properly stored in the pocket, without exposed material.
11. Handle of the pilote chute: In good condition and correctly positioned just outside the pocket.
12. Pocket elastic material (spandex): In good condition.
13. Risers: Properly routed and flaps well closed.
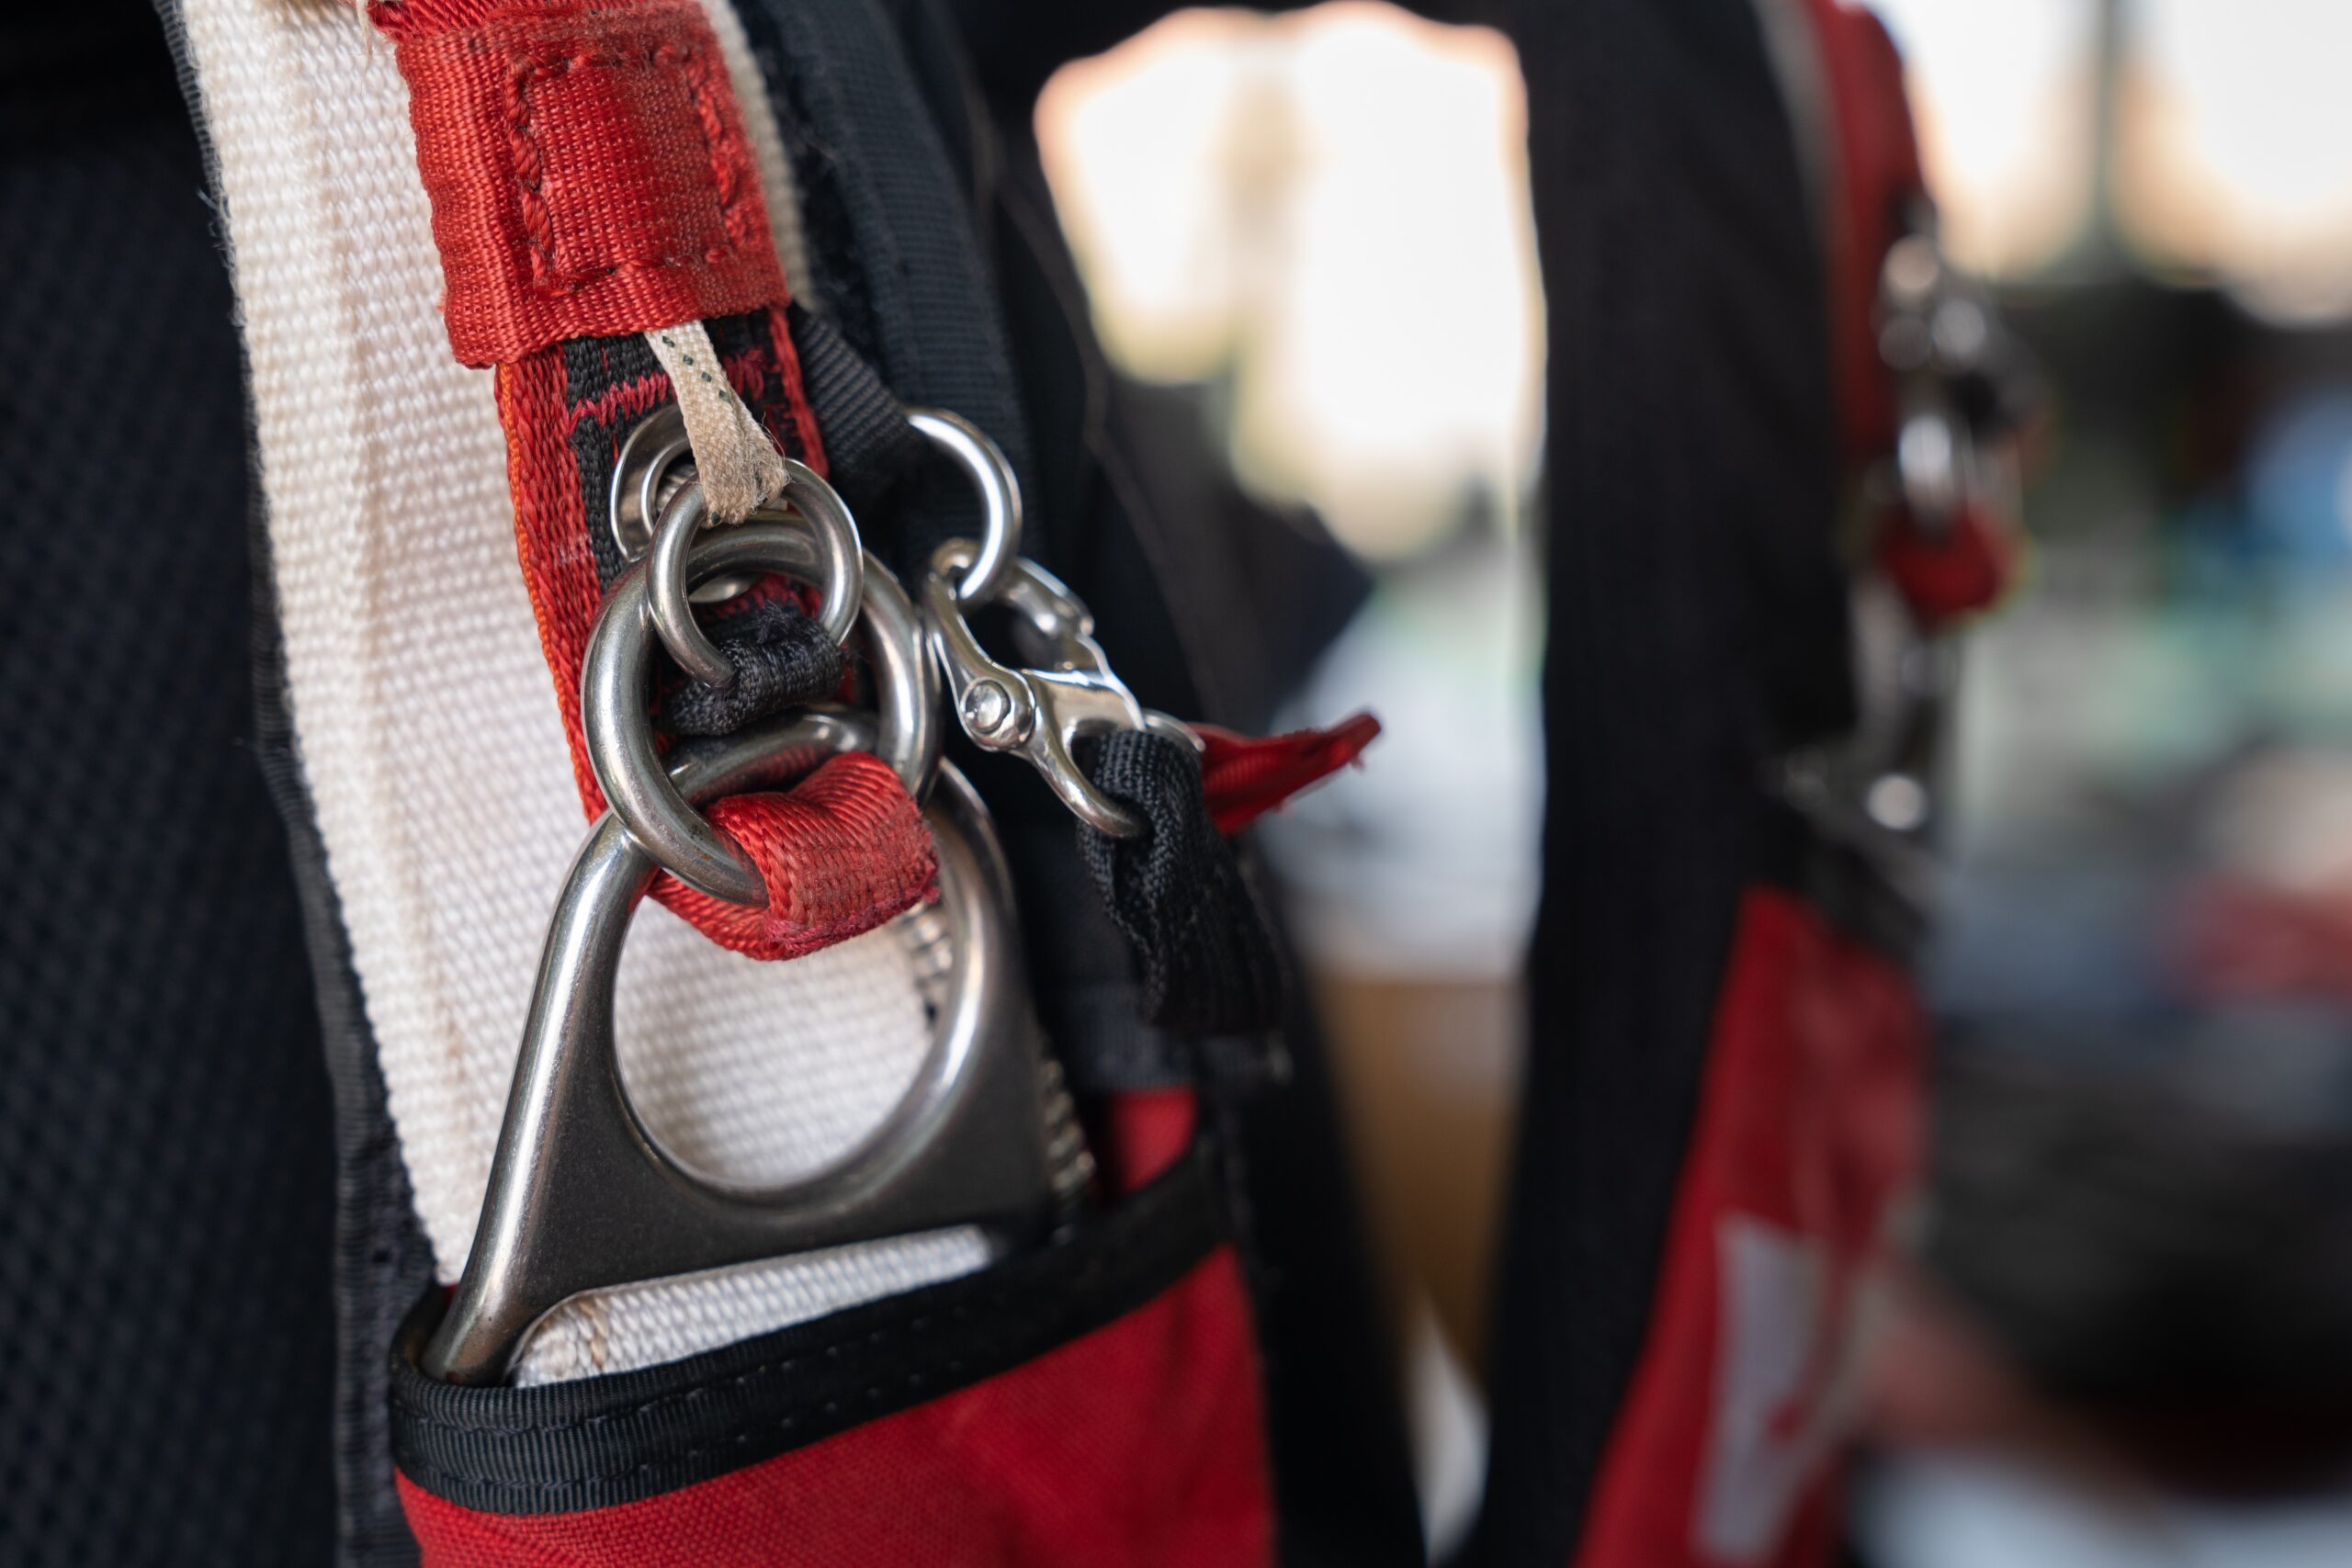
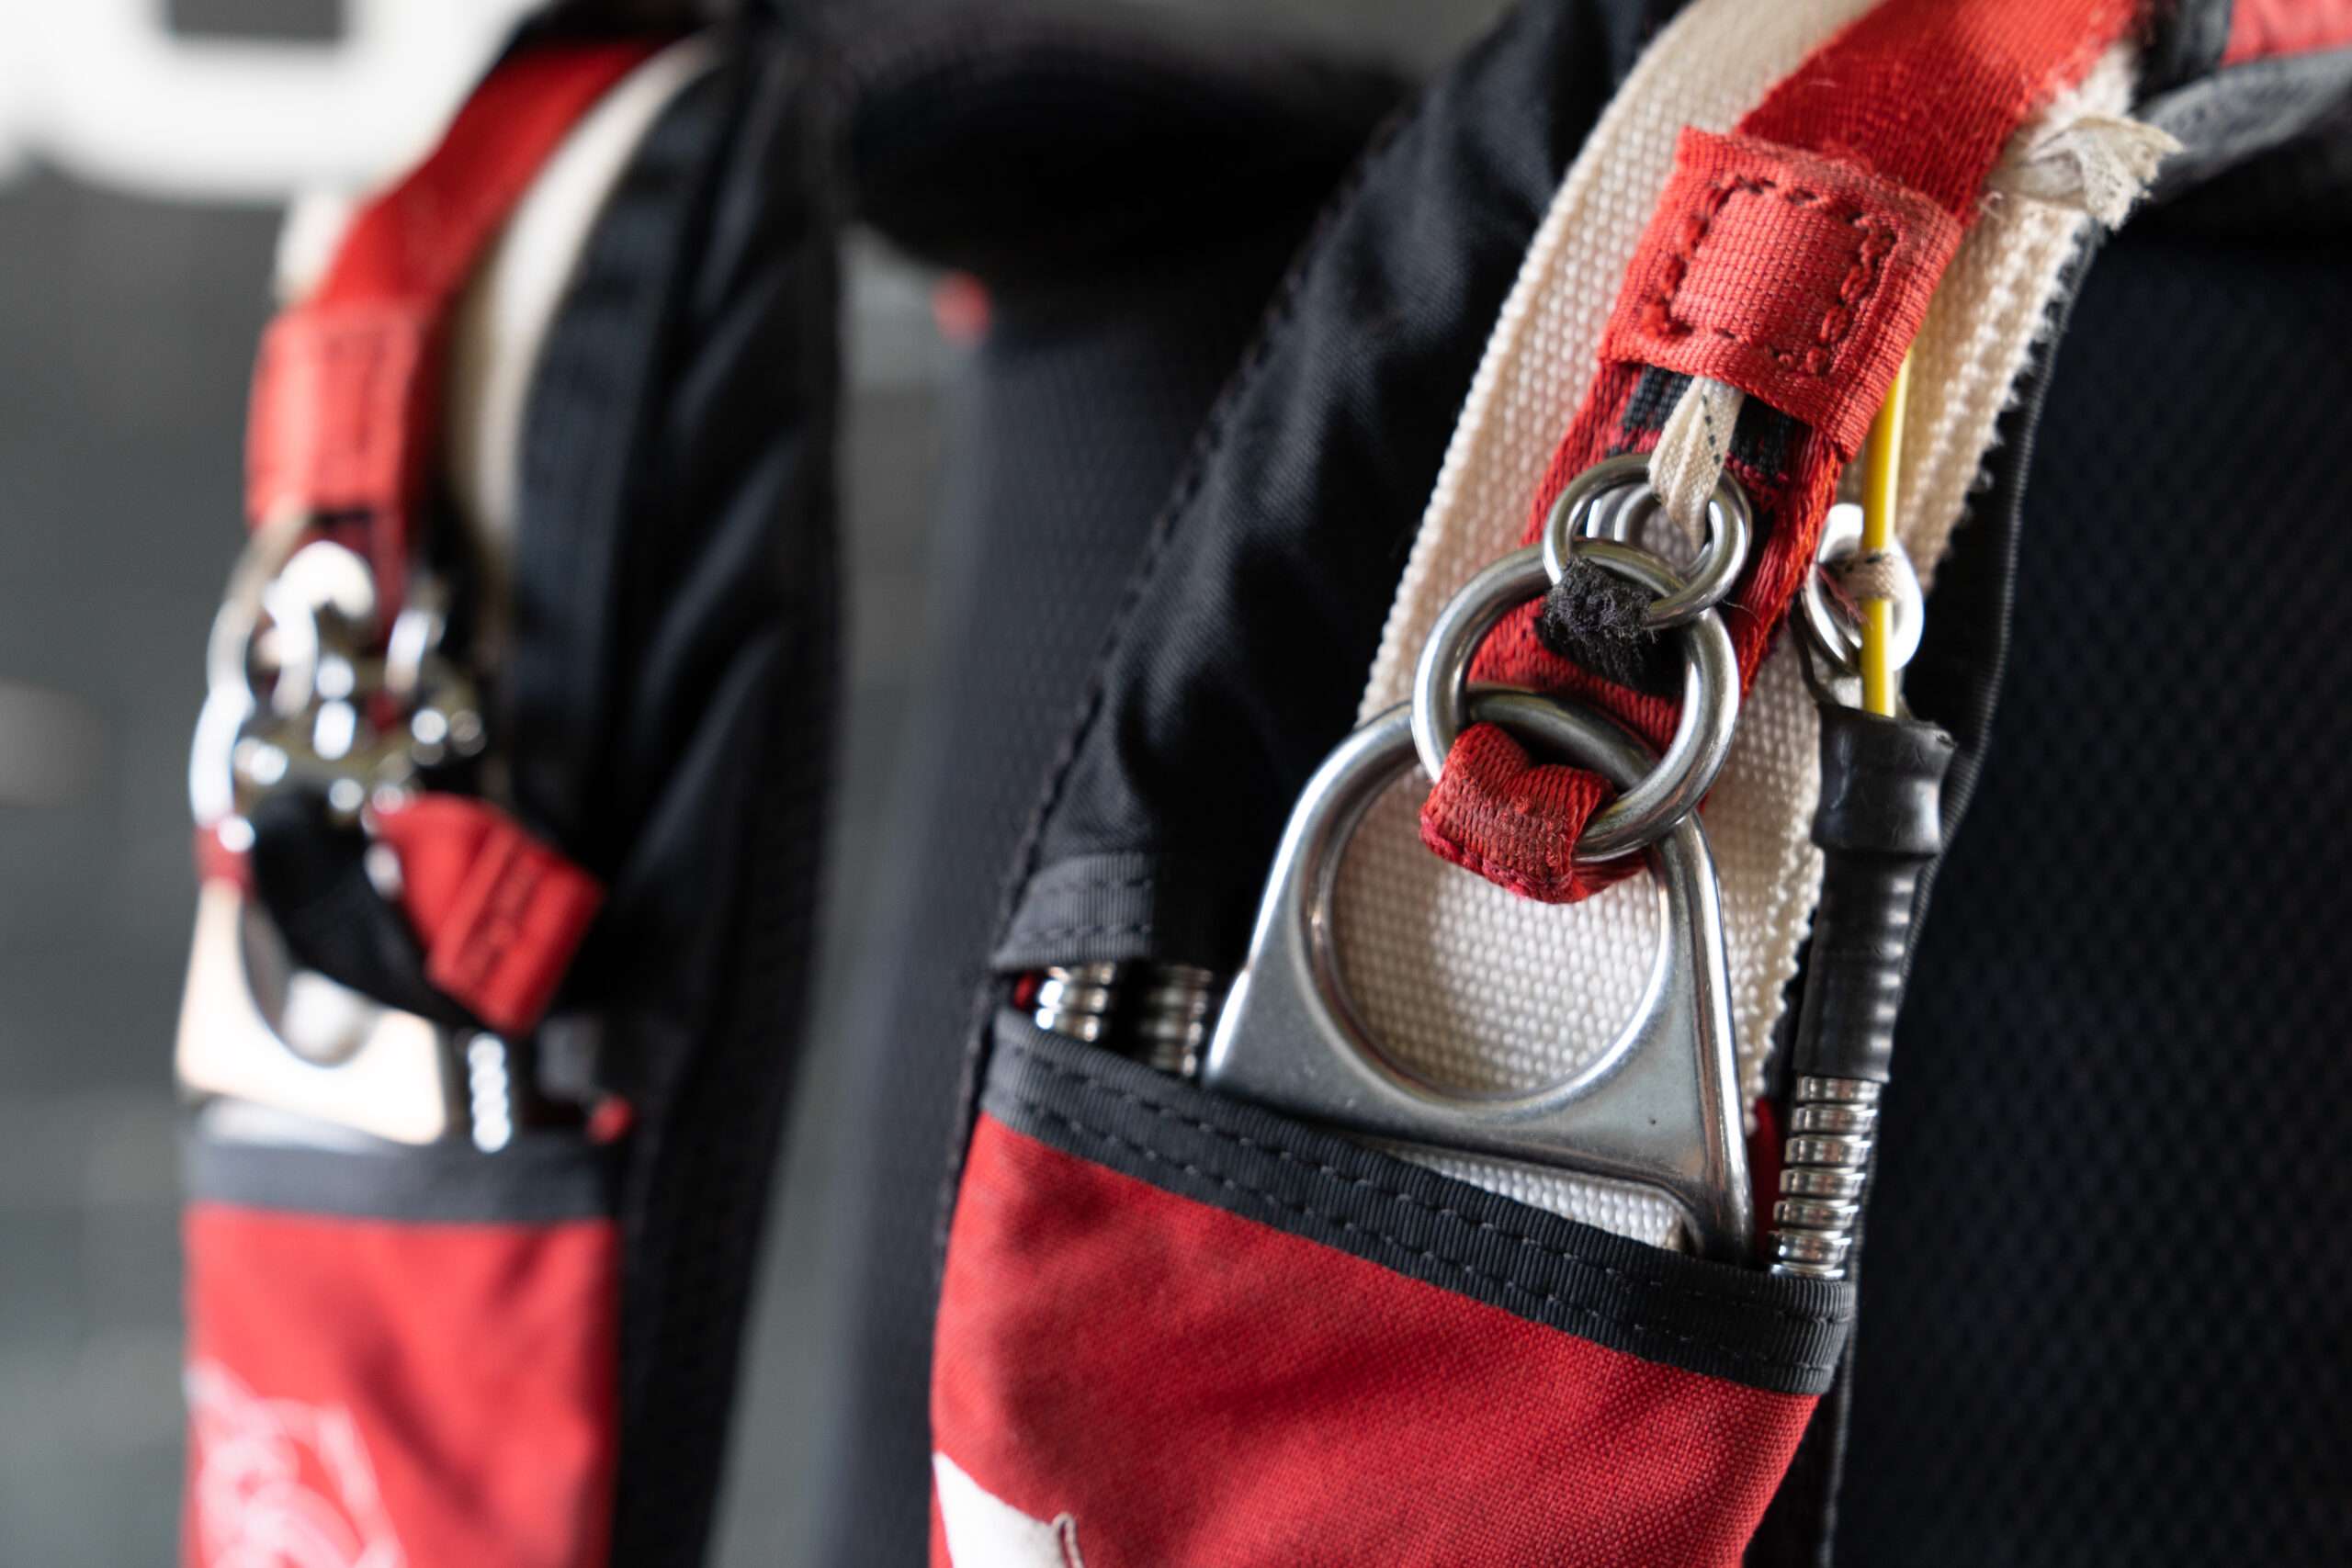
14. Three-ring systems: Properly assembled. Ensure the loop is in good condition and retains the yellow cable.
15. RSL: Assembled on a separate ring, the flag pointing toward the chest, and easily accessible.
16. Chest strap and buckle: In perfect condition. The chest strap should have elastic to store the excess.
17. Cutaway handle: In position and secured to the Velcro as high as possible to avoid exposing the cutaway yellow cables.
18. Reserve handle: In position and secured to the Velcro. If the handle uses a metal cable, verify that the stopper is impossible to remove. If it uses elastic material, ensure it’s in good condition.
19. Leg straps: In perfect condition, properly routed, and assembled inside the buckles.
20. Accessories: Verify that the jumpsuit is the appropriate size, the helmet fits correctly and closes properly, the goggles are clean and adjustable, the altimeter works and is set to zero, the shoes have flat soles and are well fastened, and the radio (if needed) has battery works properly.
After completing this checklist thoroughly and without any doubts about the condition of our gear, we can proceed to gear up. Remember, some school rigs are adjustable so after checking it make sure to try it on. Ask some of the staff to help you adjusting it to your size.
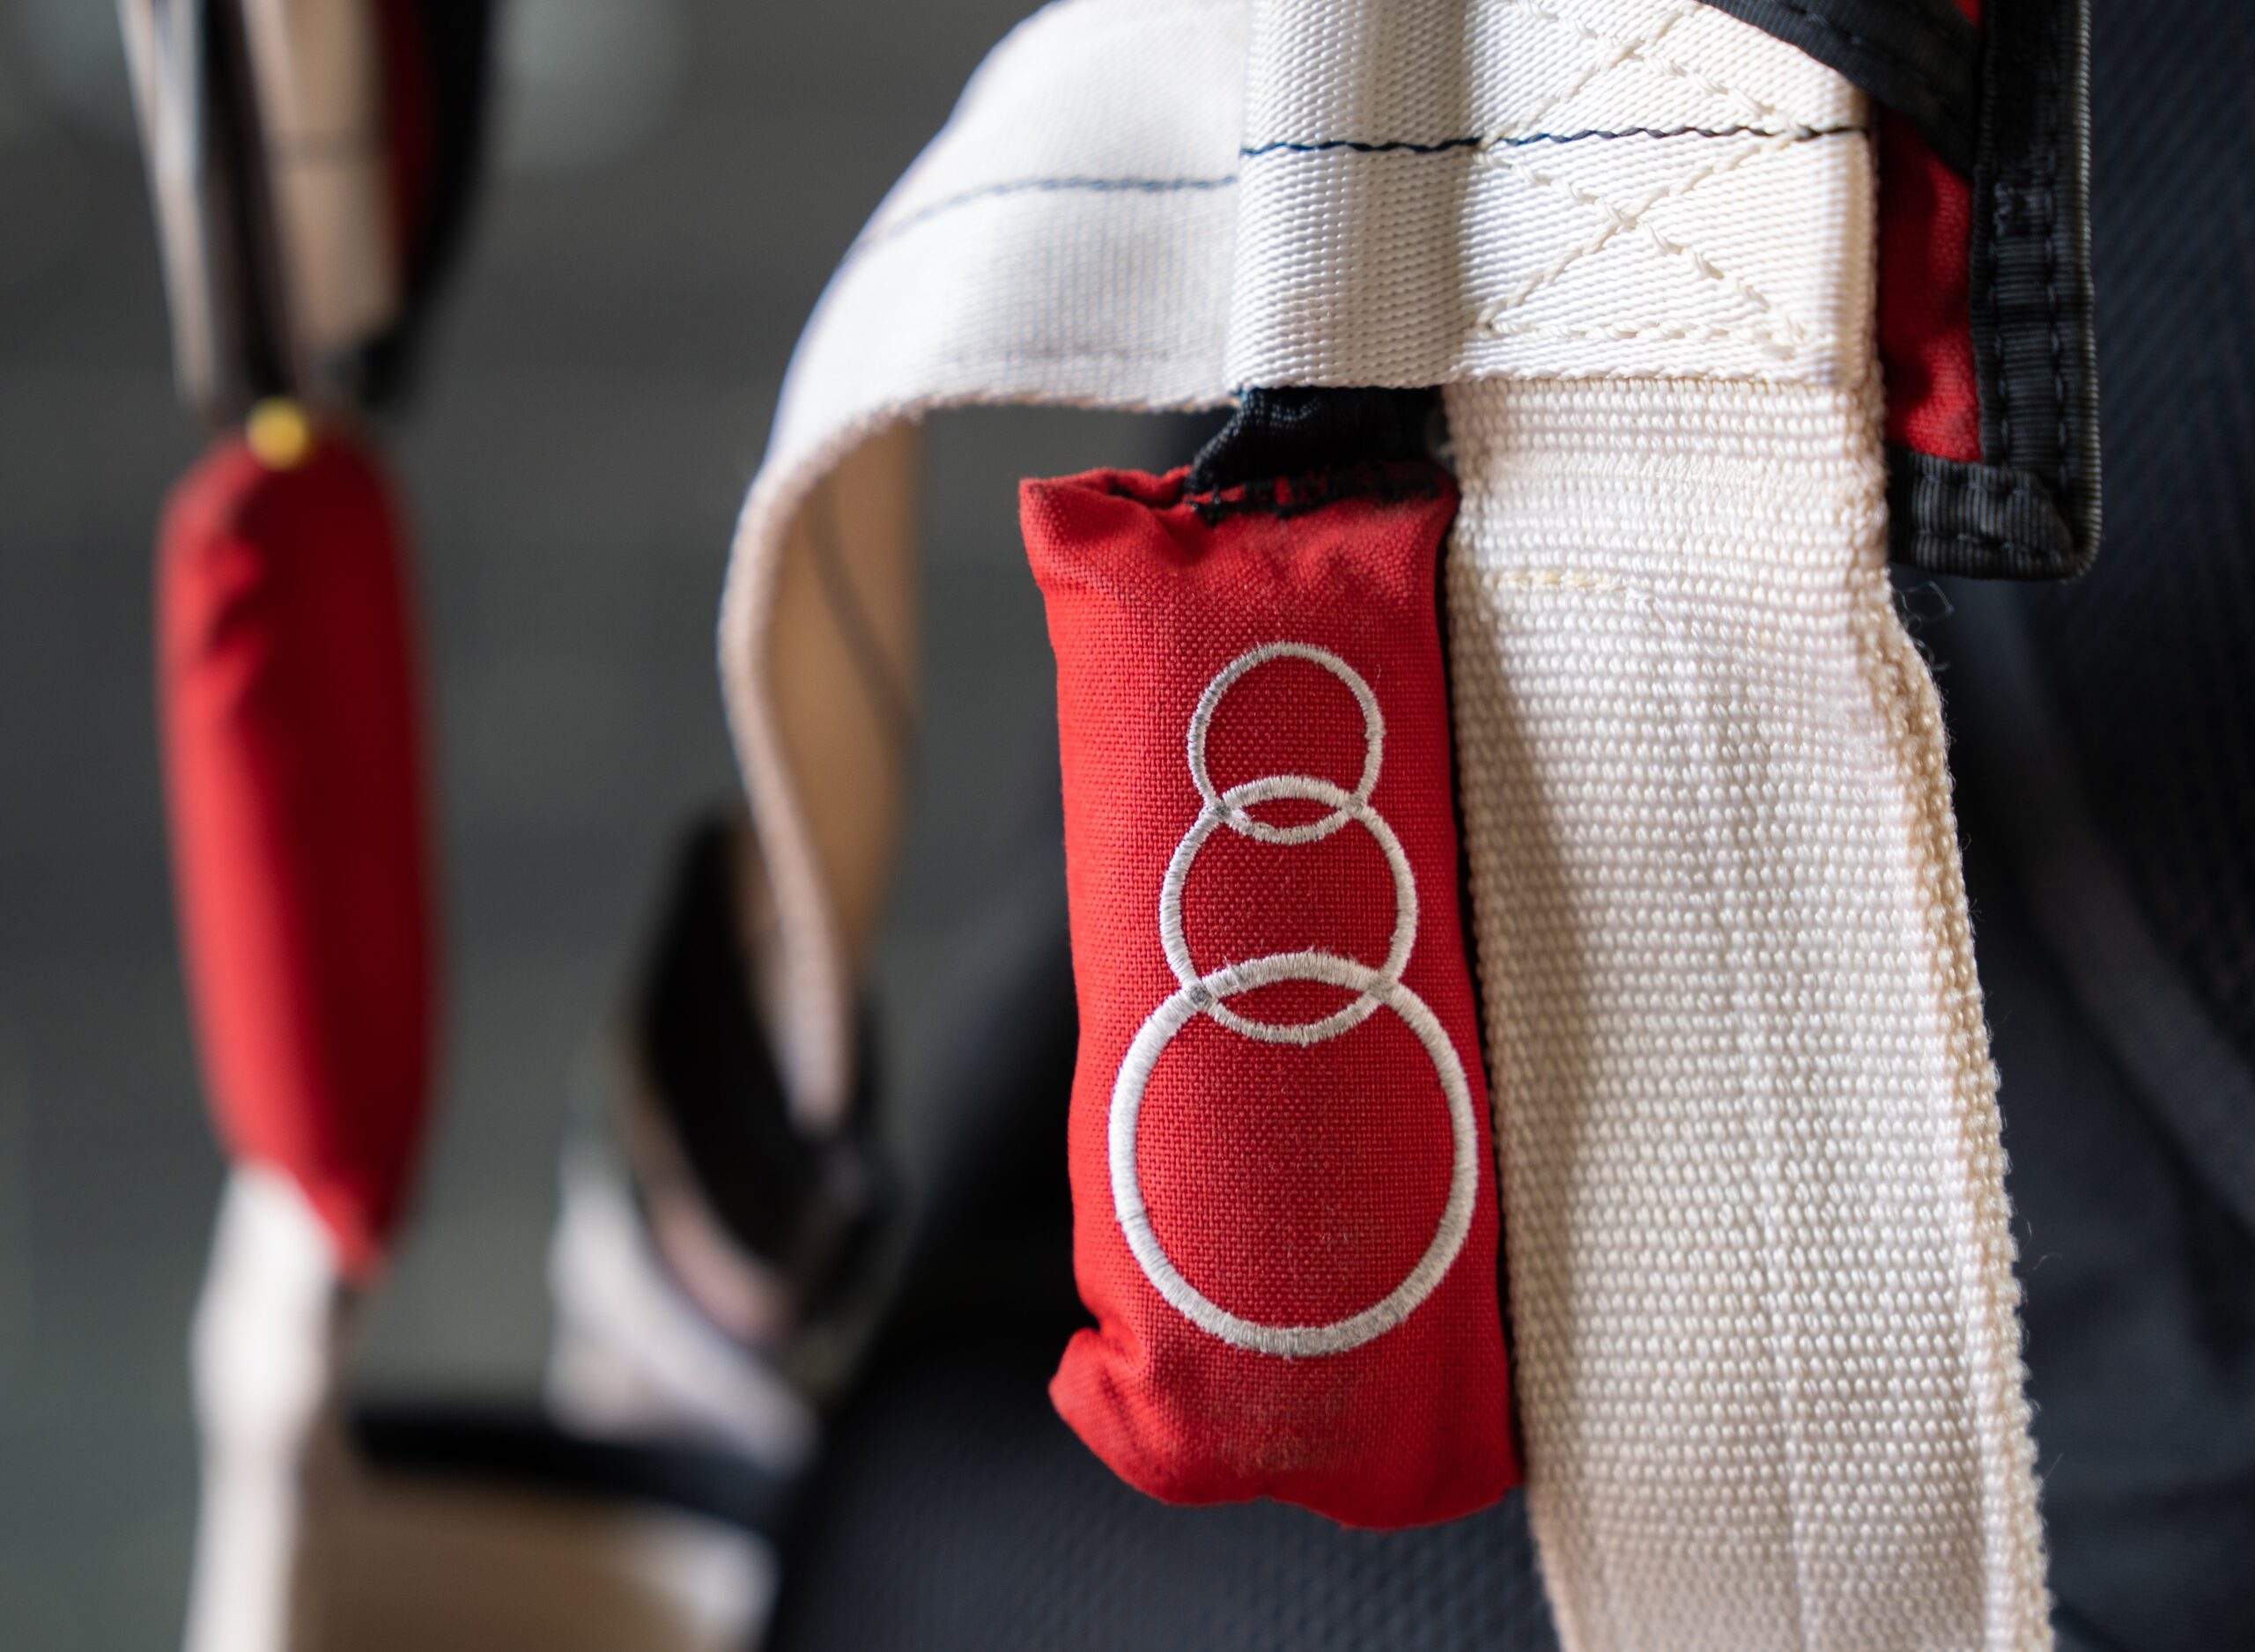
3×3 Check
The 3×3 check consists of three steps, in each of which we check three components, hence its name. This check allows us to quickly verify that the key parts needed to operate our parachute are accessible, visible, and correctly assembled and positioned.
This check should be performed immediately after gearing up, before boarding the aircraft, and before jumping. It’s important to repeat it several times because the components can shift position as we move towards the plane or inside it.
3×3 Check Sequence
METALS:
1. 3-Ring System with RSL or Skyhook: Properly assembled, the loop is in good condition and secures the yellow cable.
2. Chest Strap Buckle: Properly routed and correctly assembled through the metal buckle. Store the excess strap in the elastic loop.
3. Leg Strap Buckles: Properly routed and correctly assembled through the metal buckle. Store the excess strap in the elastic loop and inside the protective pocket.
ACTIVATION (in order of use):
1. Main: Should be in position, accessible with the right hand. If it has a freely-friendly tab, ensure it is secured.
2. Cutaway: Should be in position, inside the Velcro; it is operated with the right hand.
3. Reserve: Should be in position, inside the Velcro; it is operated with the left hand.
ACCESSORIES:
1. Altimeter: Functioning properly. It is recommended to compare readings with another skydiver’s altimeter during the pre-jump check.
2. Goggles: Adjusted, clean, and in good condition.
3. Helmet: Buckled and adjusted. If equipped with a radio, check its functionality.
“Every year, the USPA receives reports of incidents related to skydiving gear issues. Most of these incidents could have been avoided if the skydivers had known more about their gear or performed the basic safety checks before boarding or jumping from the aircraft.” Jim Crouch, 2018. – USPA S&TA Director.
Remember, for your safety, you should create the sacred habit of checking your gear at least four times: before gearing up, after gearing up, before boarding the plane, and before jumping. Additionally, ask other skydivers to check your AAD once you’re geared up and make sure you have all accessories ready for your jump.
Have a good jump and may always safety be first!
Bibliographic References:
• USPA Skydiver Information Manual, 2023-2024 edition. Section 5.4: (Pre-Jump Safety Checks and Briefings).
• USPA News, Safety check: Knowing your gear. Jim Crouch, USPA Director of Safety & Training. 2018. Retrieved from the website https://www.uspa.org/about-uspa/uspa-news/safety-check-knowing-your-gear on August 17, 2024.