Standard procedure under canopy: How to y our parachute from deployment to landing
At the end of the last edition of this blog, titled “Individual Freefall Technique,” we mentioned that due to its length and depth, a detailed discussion on canopy procedures, from opening to landing, would be covered in a future post. As a result, we have decided to continue addressing this topic in this edition.
From the moment we open our canopy, we enter a phase that introduces new risks, distinct from those associated with freefall. The factors and risk scenarios related to flying under canopy are numerous and can become quite creative.
For this reason, and following the philosophy of moving from the simple to the complex, we will discuss in general terms the standard procedure to follow from the moment we deploy our canopy until the instant our body touches the ground. This procedure is described in detail in Chapter 1, Category A of the United States Parachute Association (USPA) Skydiver’s Information Manual (SIM).
Due to space constraints, unexpected scenarios or emergency situations will be left for future blog editions, as these topics require depth to be fully explained.
Having clarified the context and scope of this section, let’s now explain the standard protocol under canopy, from deployment to landing.
In Normal Conditions:
Our parachute should inflate shortly after we pull the pilot chute. At this moment, we must begin the first check, also known as the “Three-Point Check” in some drop zones.
Three-Point Check:
The Three-Point Check is a visual check consisting of three questions about the state of our canopy.
1. Is it there?
We check the canopy to ensure it is properly inflated after opening.
2. Does it have the proper shape and size?
The canopy should be completely rectangular or elliptical, depending on its design. The suspension lines should fall into four neat groups leading to each riser, and the slider should have dropped to the top of the risers. The canopy should be flying steadily and level toward the horizon, following a straight trajectory.
3. Is it controllable?
We perform a controllability check to ensure the canopy flies straight throughout the flight, is fully maneuverable, and can be braked.
First, we release the toggles and confirm that the canopy is flying straight. Then we check that the parachute brakes properly for landing by flaring both toggles symmetrically, pulling them all the way down. After that, we gently raise the toggles back to full flight. We repeat this process a second time.
To confirm that the parachute is properly controllable, we look to the right, turn right by at least 90 degrees, then stop the turn by returning to full flight. Finally, we look to the left, turn left, and stop the turn by returning to full flight. Always aware of traffic and the altimeter.
This check allows us to determine if our canopy is maneuverable and safe for landing. If our canopy does not respond correctly during the controllability check, we must immediately begin emergency procedures before reaching decision altitude.
Decision Altitude:
It is crucial to be clear about our decision altitude, as this is the lowest height at which we must decide whether to land with our main canopy or reserve canopy, as well as the terrain where we will land.
The decision altitude for students, as set by the USPA, is 2500 feet above the landing area.
Emergencies and their respective responses are broad topics, and therefore we will review them in more depth in future editions.
What to Do After Completing the Three-Point Check:
After confirming that our canopy is controllable, we should check our altitude and then observe our position relative to the ground in order to locate the landing target and the planned holding area. Once we have identified our holding area, we should head directly toward it. Arriving in the holding area above 2000 feet will place us in the correct position to enter the landing pattern.
Traffic Under Canopy:
During our flight under canopy, we must regularly check our altitude and position relative to the ground while heading to the entry point of the landing pattern, always keeping an eye on the traffic of other skydivers. It is important to remember that the way to visually communicate with other pilots is by moving our legs to signal that we acknowledge them and responding in the same manner to indicate that we know they have recognized us.
All skydivers are responsible for avoiding collisions with other pilots while flying under canopy. If a collision is imminent, in most cases, both skydivers should maneuver to the right. If two skydivers collide and become entangled under canopy, they should communicate before taking any action. If it is too low for a safe release (below 1000 feet) and the canopies are uncontrollable, both skydivers should deploy their reserve parachutes.
Landing Pattern:
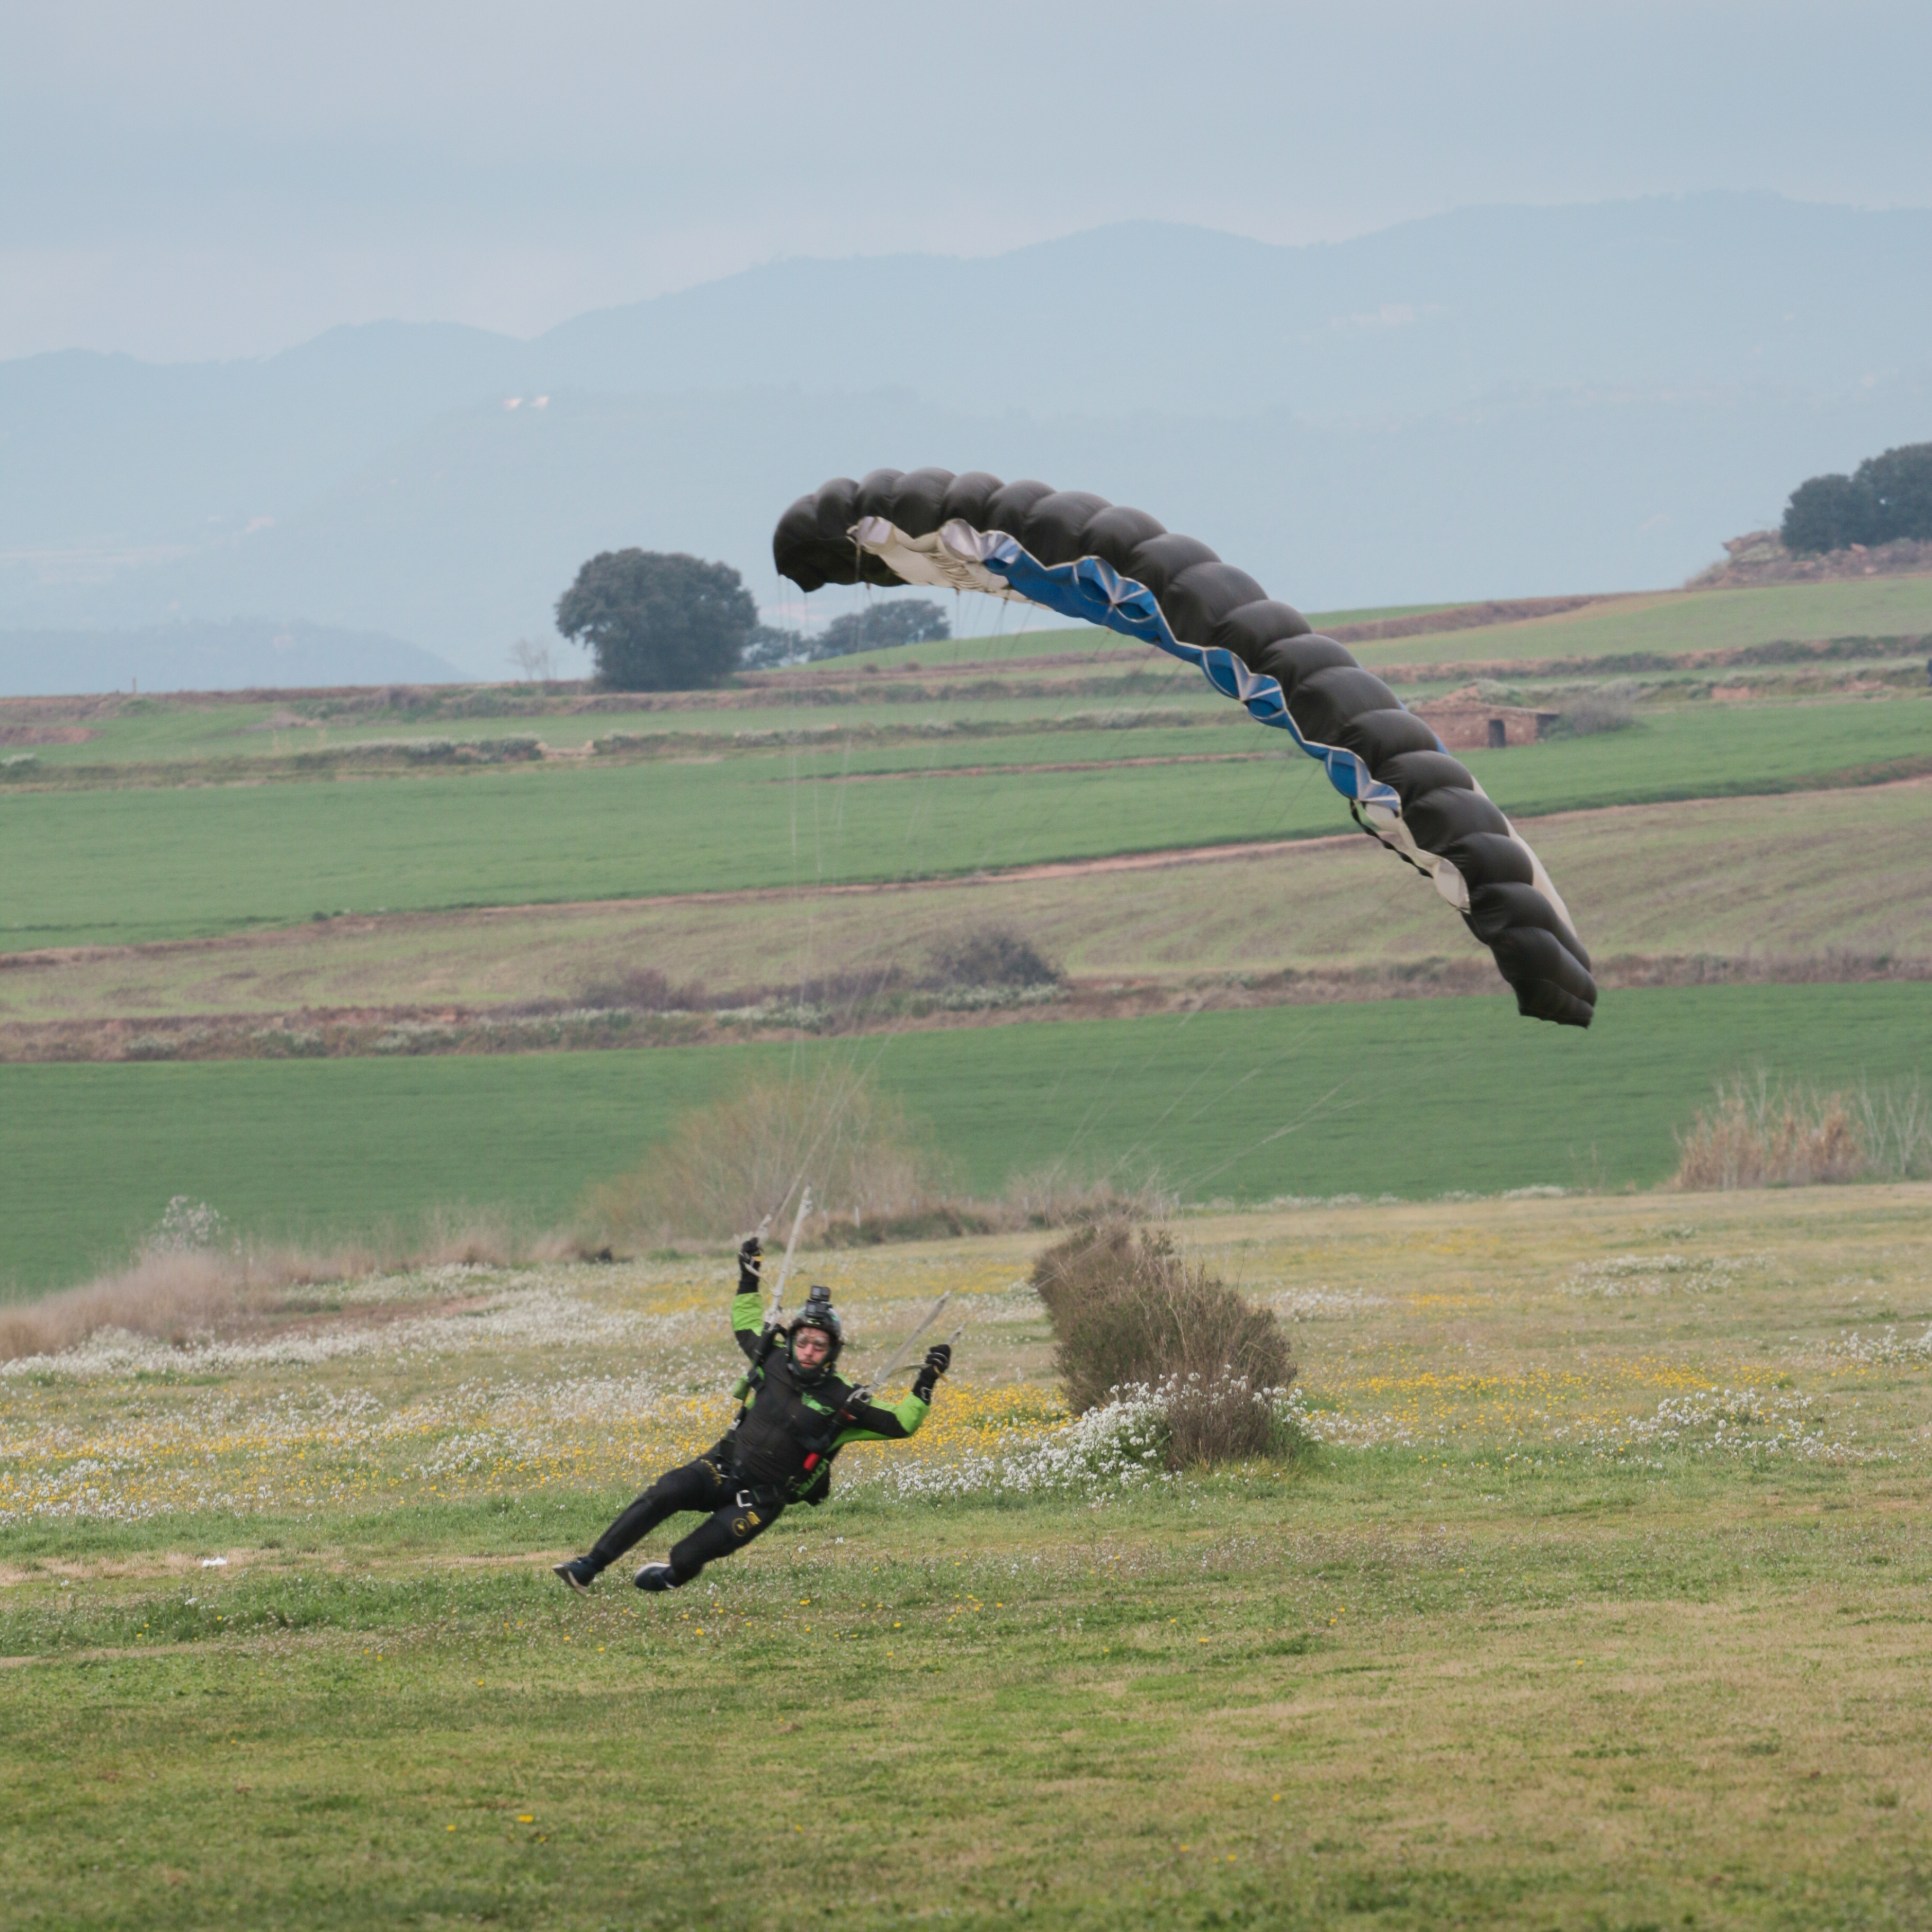
The landing pattern is a flight trajectory, generally rectangular or Ushaped, used during the final phase of flight under the canopy to ensure that our movement is predictable for other skydivers.
Typically, it begins at 1000 feet above the ground at a reference point that determines the entry into the pattern. The trajectory of the landing pattern consists of three segments: headwind, base, and final. The headwind segment begins at 1000 feet above the ground, the base segment at 500 feet, and the final approach at 300 feet.
The reference points for the start of each segment are chosen based on wind direction and intensity and vary for each jump. For this reason, it is extremely important to always keep an eye on the wind sock.
Final Approach and Landing Priorities:
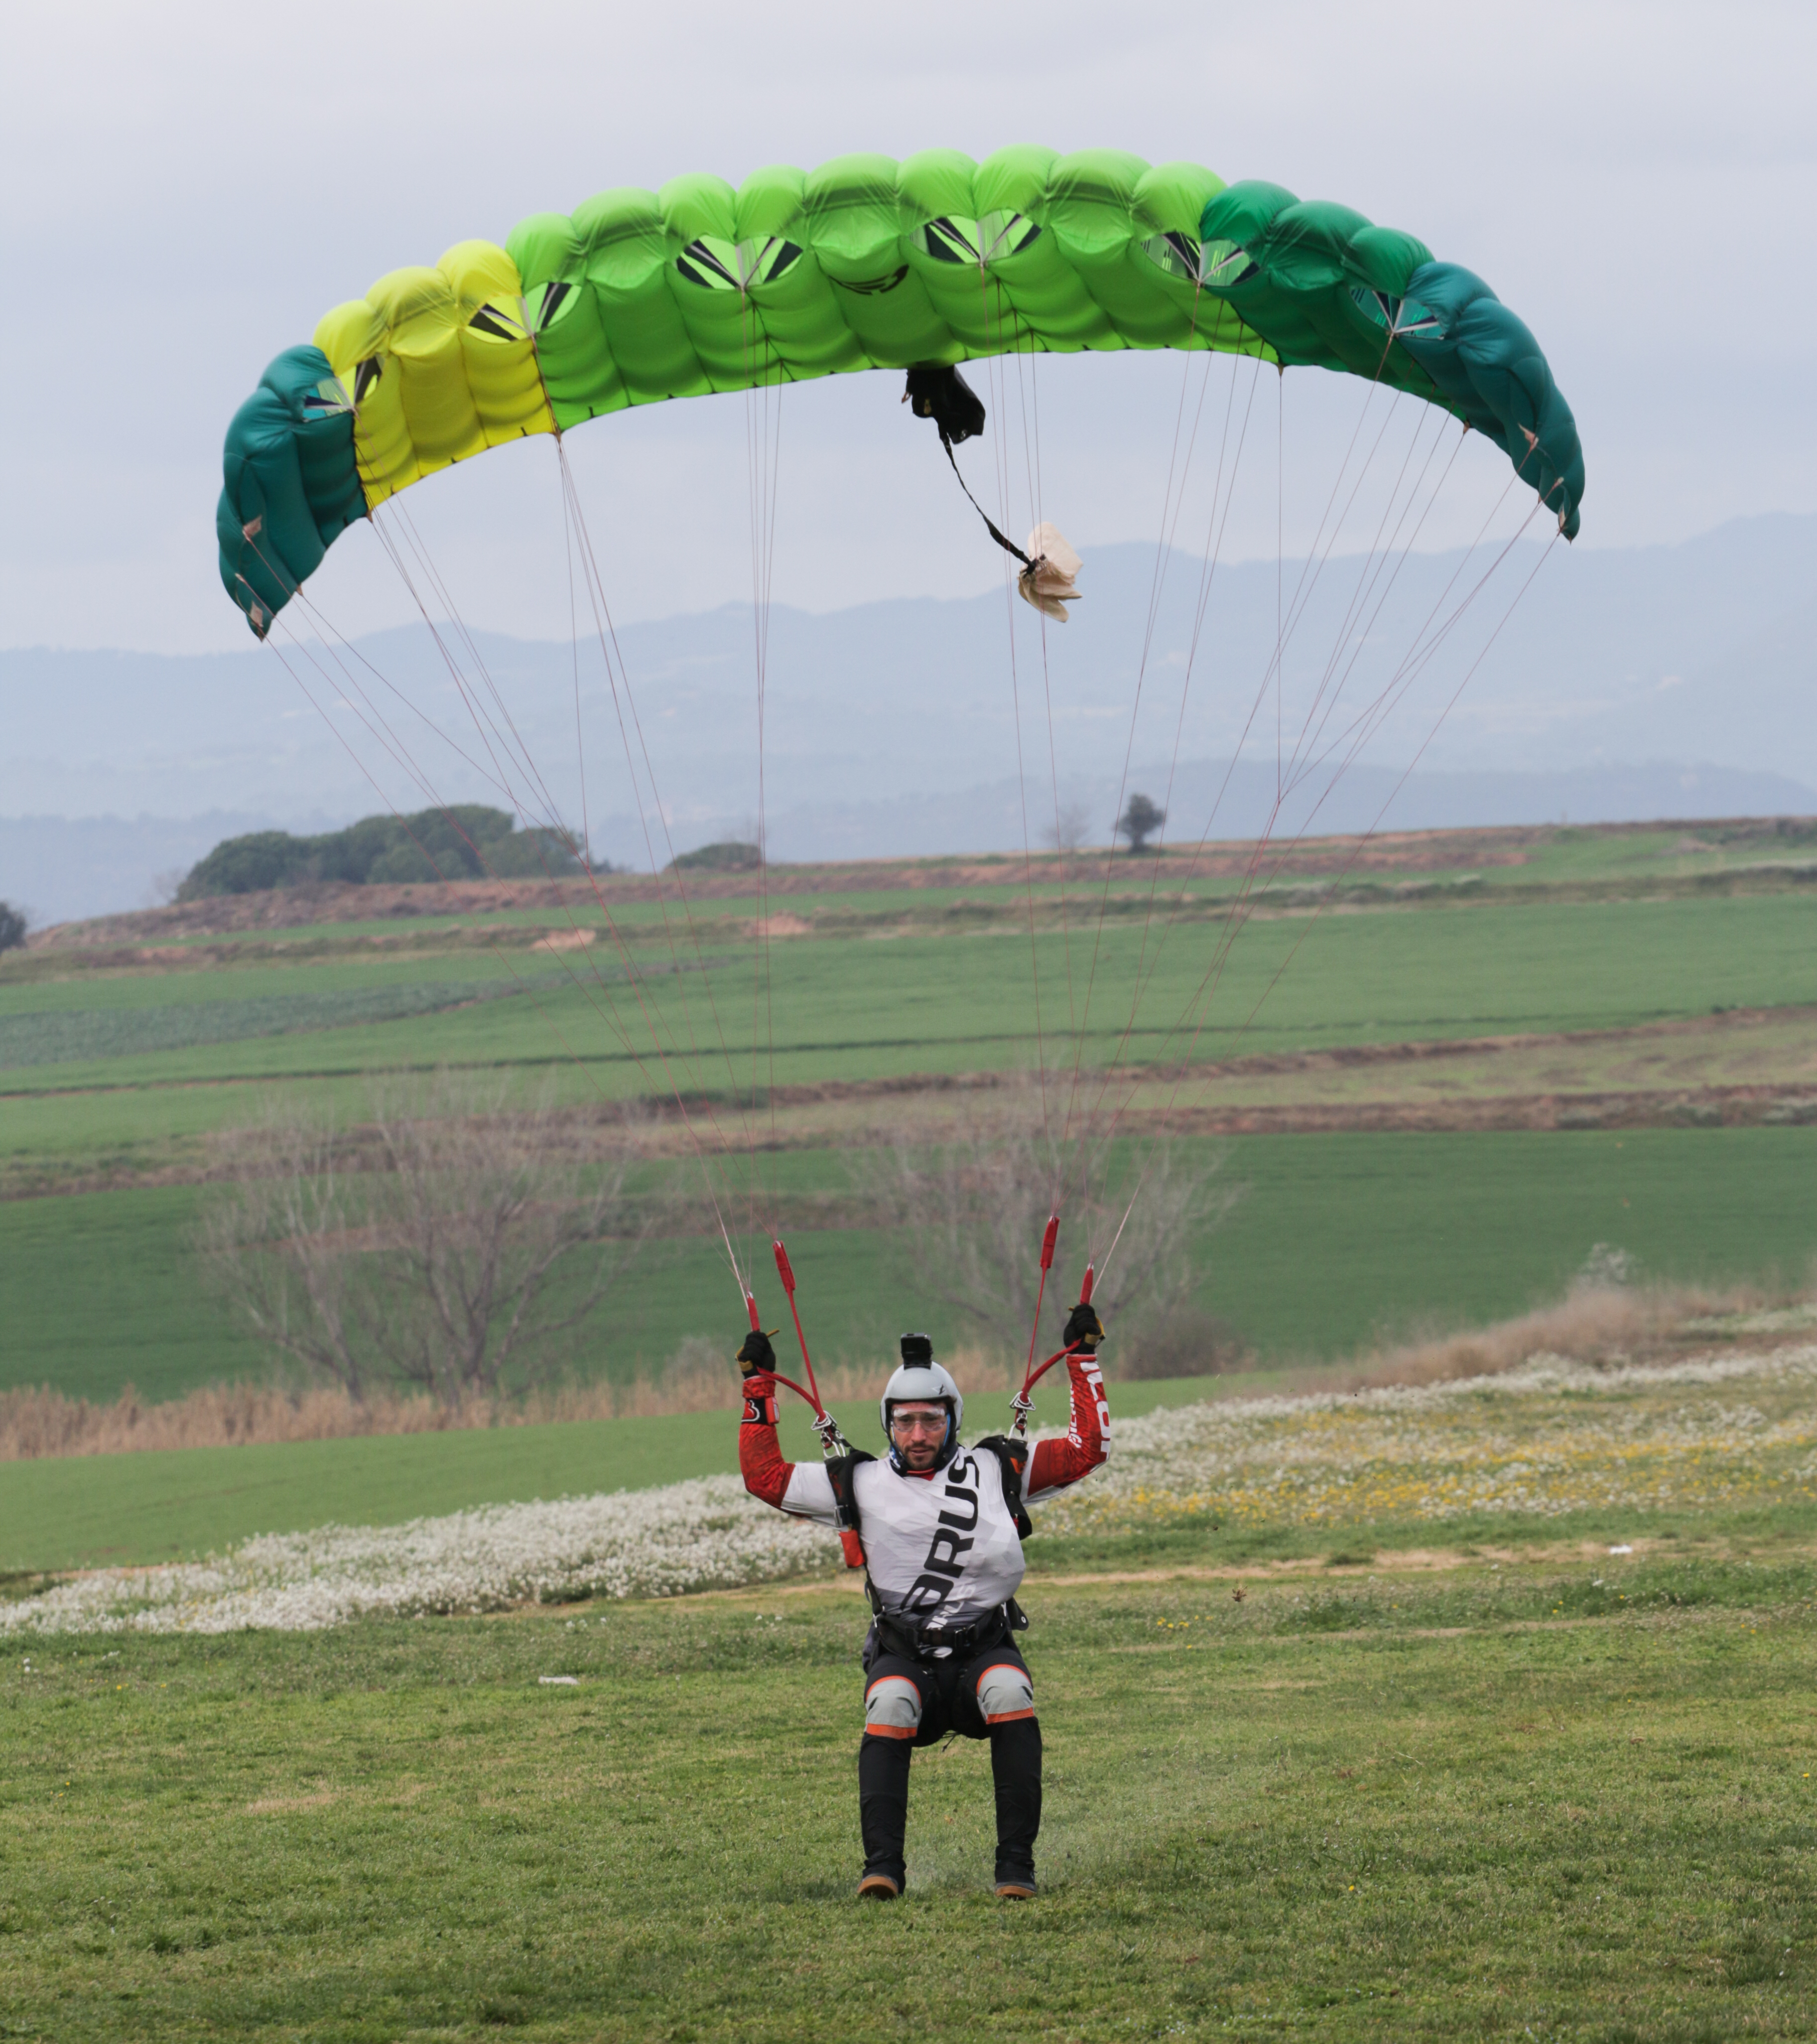
Due to the proximity to the ground and the presence of several skydivers at once, the final phase of the landing pattern is a critical moment for safety. For this reason, the USPA has established a series of priorities that must be followed systematically to ensure safe landings.
Landing priorities are:
1. Land with the wing level, following a straight path to avoid collisions with other skydivers.
2. Head toward a wide, at, and obstacle-free area.
3. Perform a flare before touching the ground to reduce both horizontal speed and descent rate before landing. Execute a controlled fall (PLF) as soon as you touch the ground.
If the canopy begins to drift to the right or left, small corrections should be made to maintain a straight path. The best way to avoid obstacles is to focus on an open area and guide the canopy toward that objective, rather than fixating on the obstacle.
To achieve a lower speed at the moment of landing, it is desirable to land into the wind; however, this is not part of the USPA landing priorities. There will be times when we need to land with the wind, while still respecting the priorities outlined above.
Off-Pattern Landings:
At times, for various reasons, we may nd ourselves far from the landing zone or unable to reach our holding area.
In this case, we need to determine if we can reach the pattern entry point at 1000 feet. If it is clear that we cannot make it to the 1000-foot point, we should aim for the 500-foot and 300-foot points. If it is safe to reach one of those points, we should head toward it and remain over it until we reach the correct altitude to begin that segment of our pattern.
If it is clear that reaching any of the pattern points at the correct altitude is not possible, we must plan for an alternative landing area before reaching decision height, if possible, and not below 2000 feet.
We must ensure that the new landing area is wide, at, and free of obstacles. Once the new landing area is selected, we should mentally transfer the landing pattern we initially planned for the original landing zone and apply it to the new landing area.
Conclusion:
The procedure for navigating under canopy, from opening to landing, requires us to systematically and methodically execute the protocols described above in a standardized manner. It is clear that each phase of the process can open the possibility for various emergencies or unforeseen situations, which we will describe in future blog editions due to their depth and complexity.
References:
• USPA, Skydiver’s Information Manual, 2025 Edition, Chapter 1, Category A (Canopy).